J.A.R.E.D.S
This is probably the brain child and climax of my very not long high school career. J.A.R.E.D.S stands for Just a Really Excessive Defense System. Although now I realize that the words "Nerf" and "Defence" should probably not be used in the same sentence. J.A.R.E.D.S was designed for my grade 12 computer engineering course at the very last quadmester, fittingly right at the end of my high school career making for some pretty good memories. Anyways the basic idea behind it was to use a Nerf gun (or anything that shoots things really fast really) and mount it to an autonomous turret. I wanted to use this final project as a way of consolidating everything I had learned in high school up until this point-admittedly why the scope was far too large for the course.
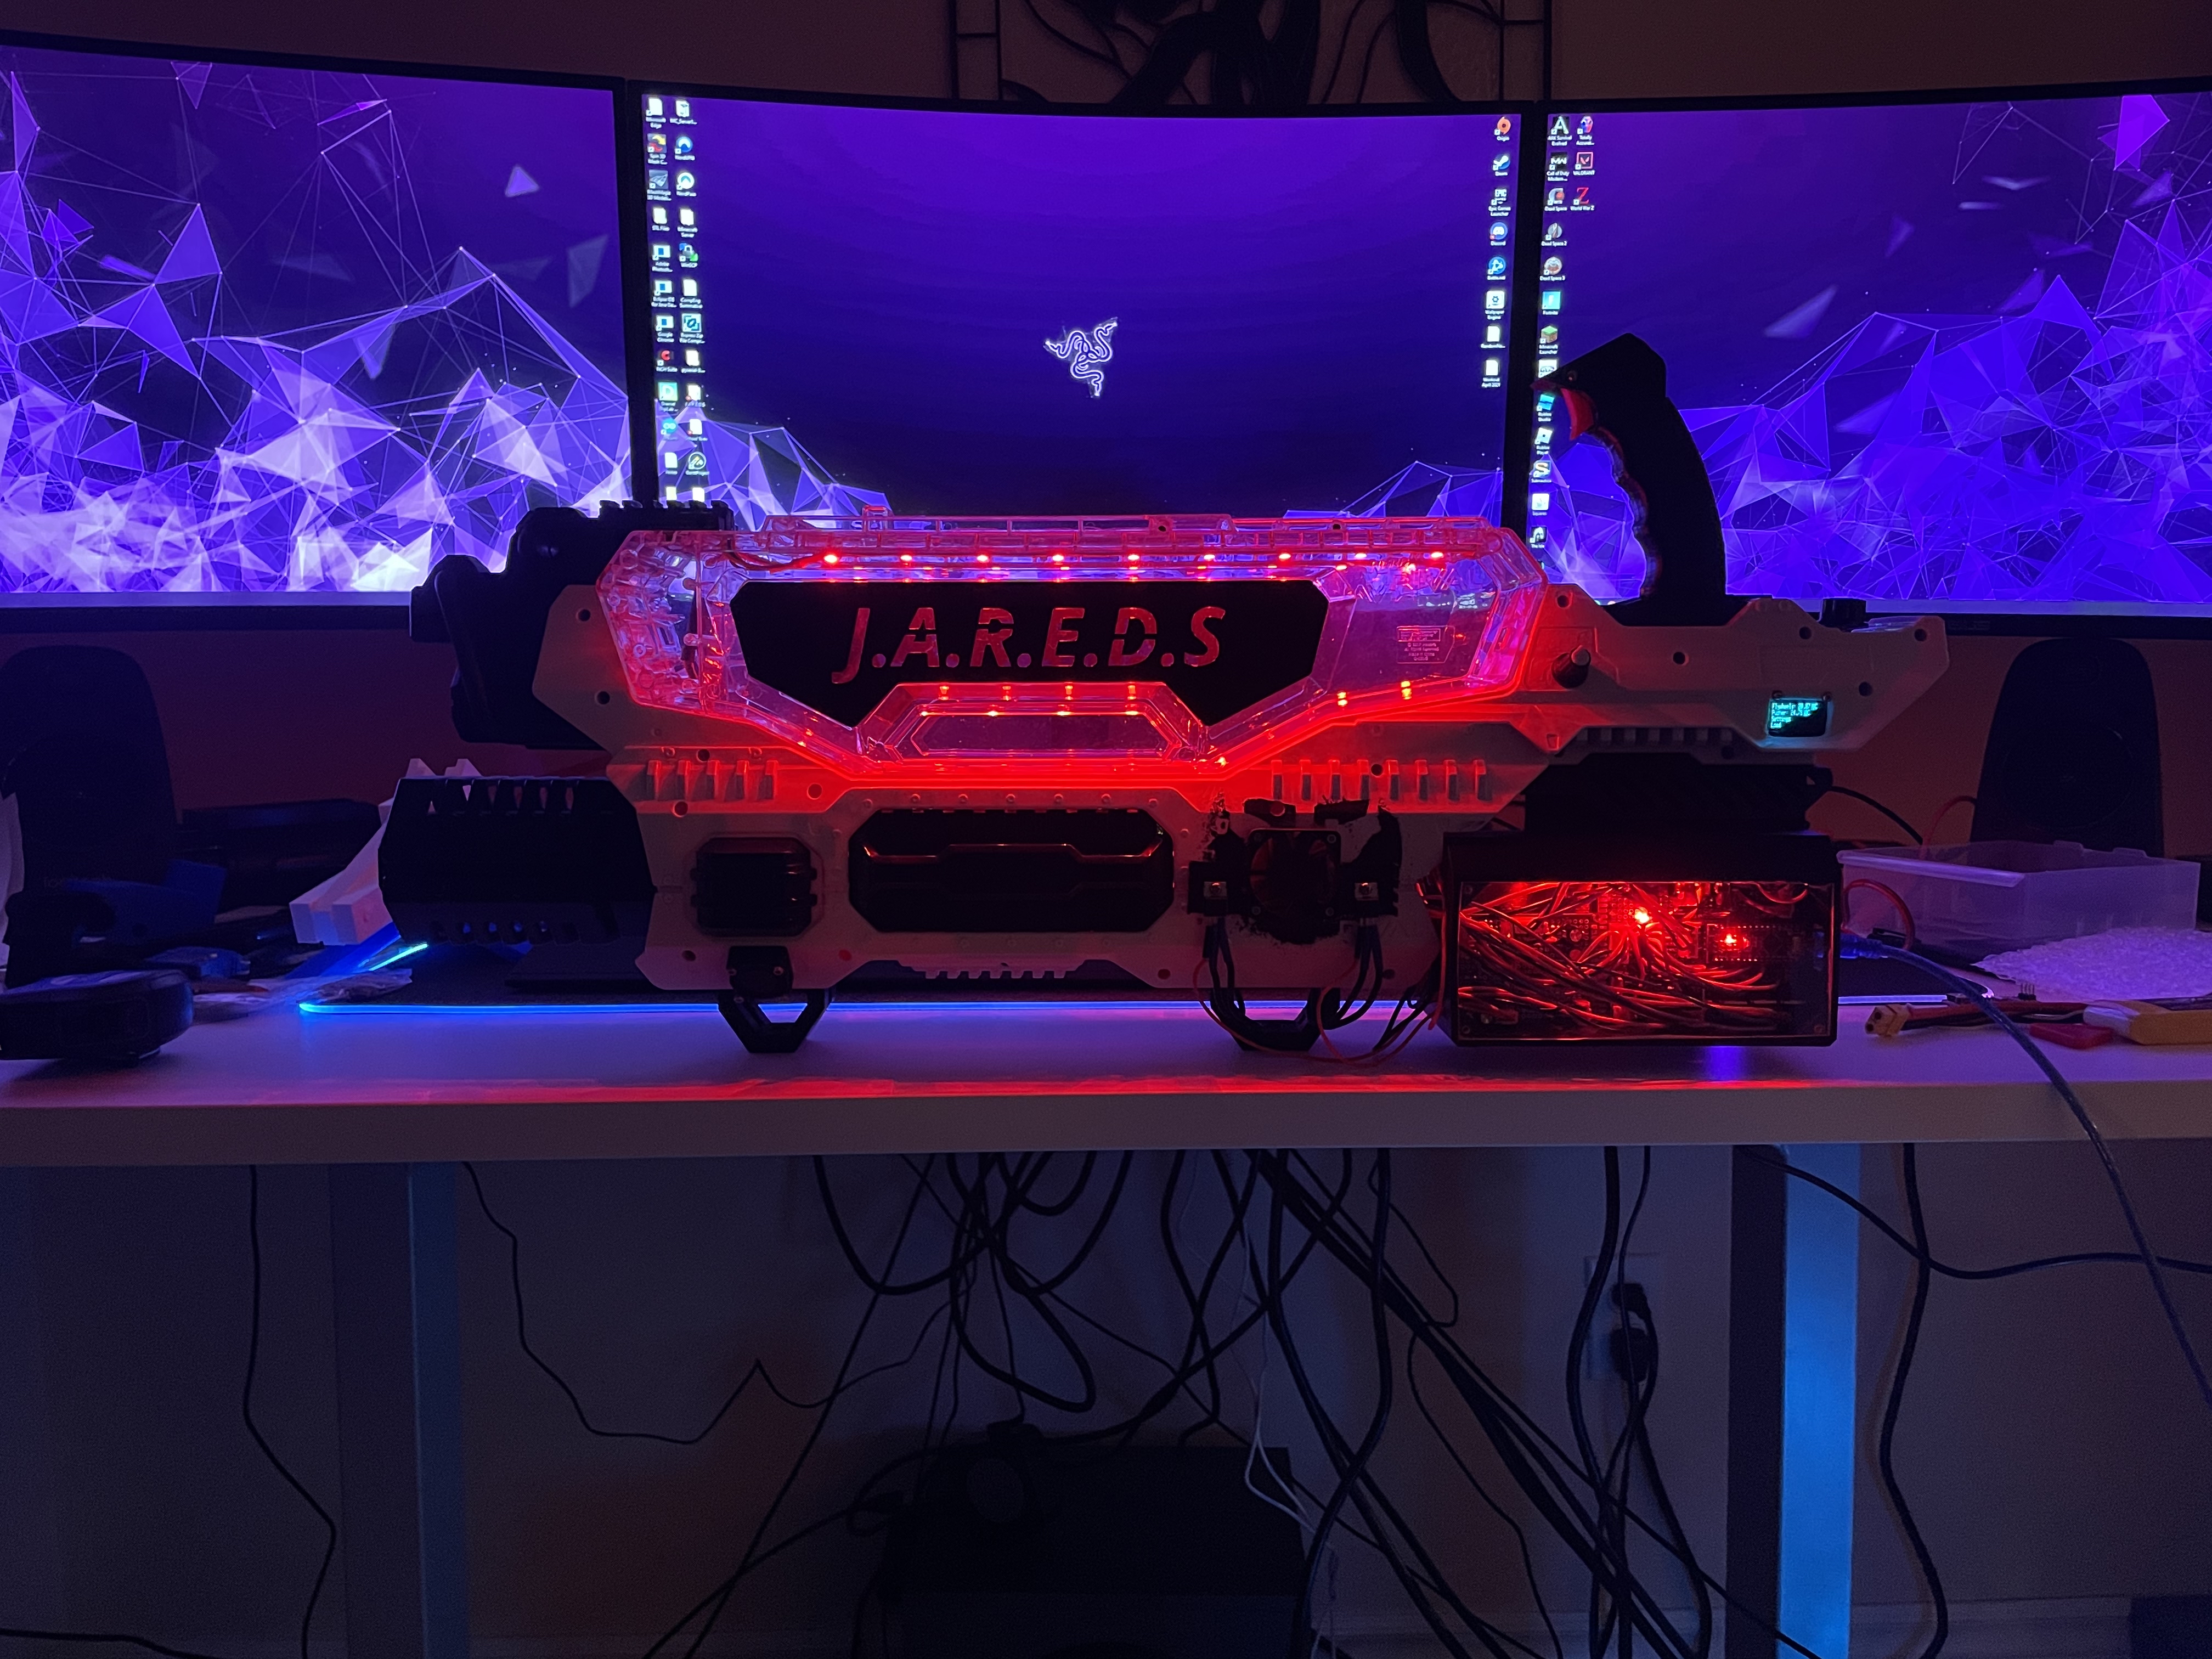
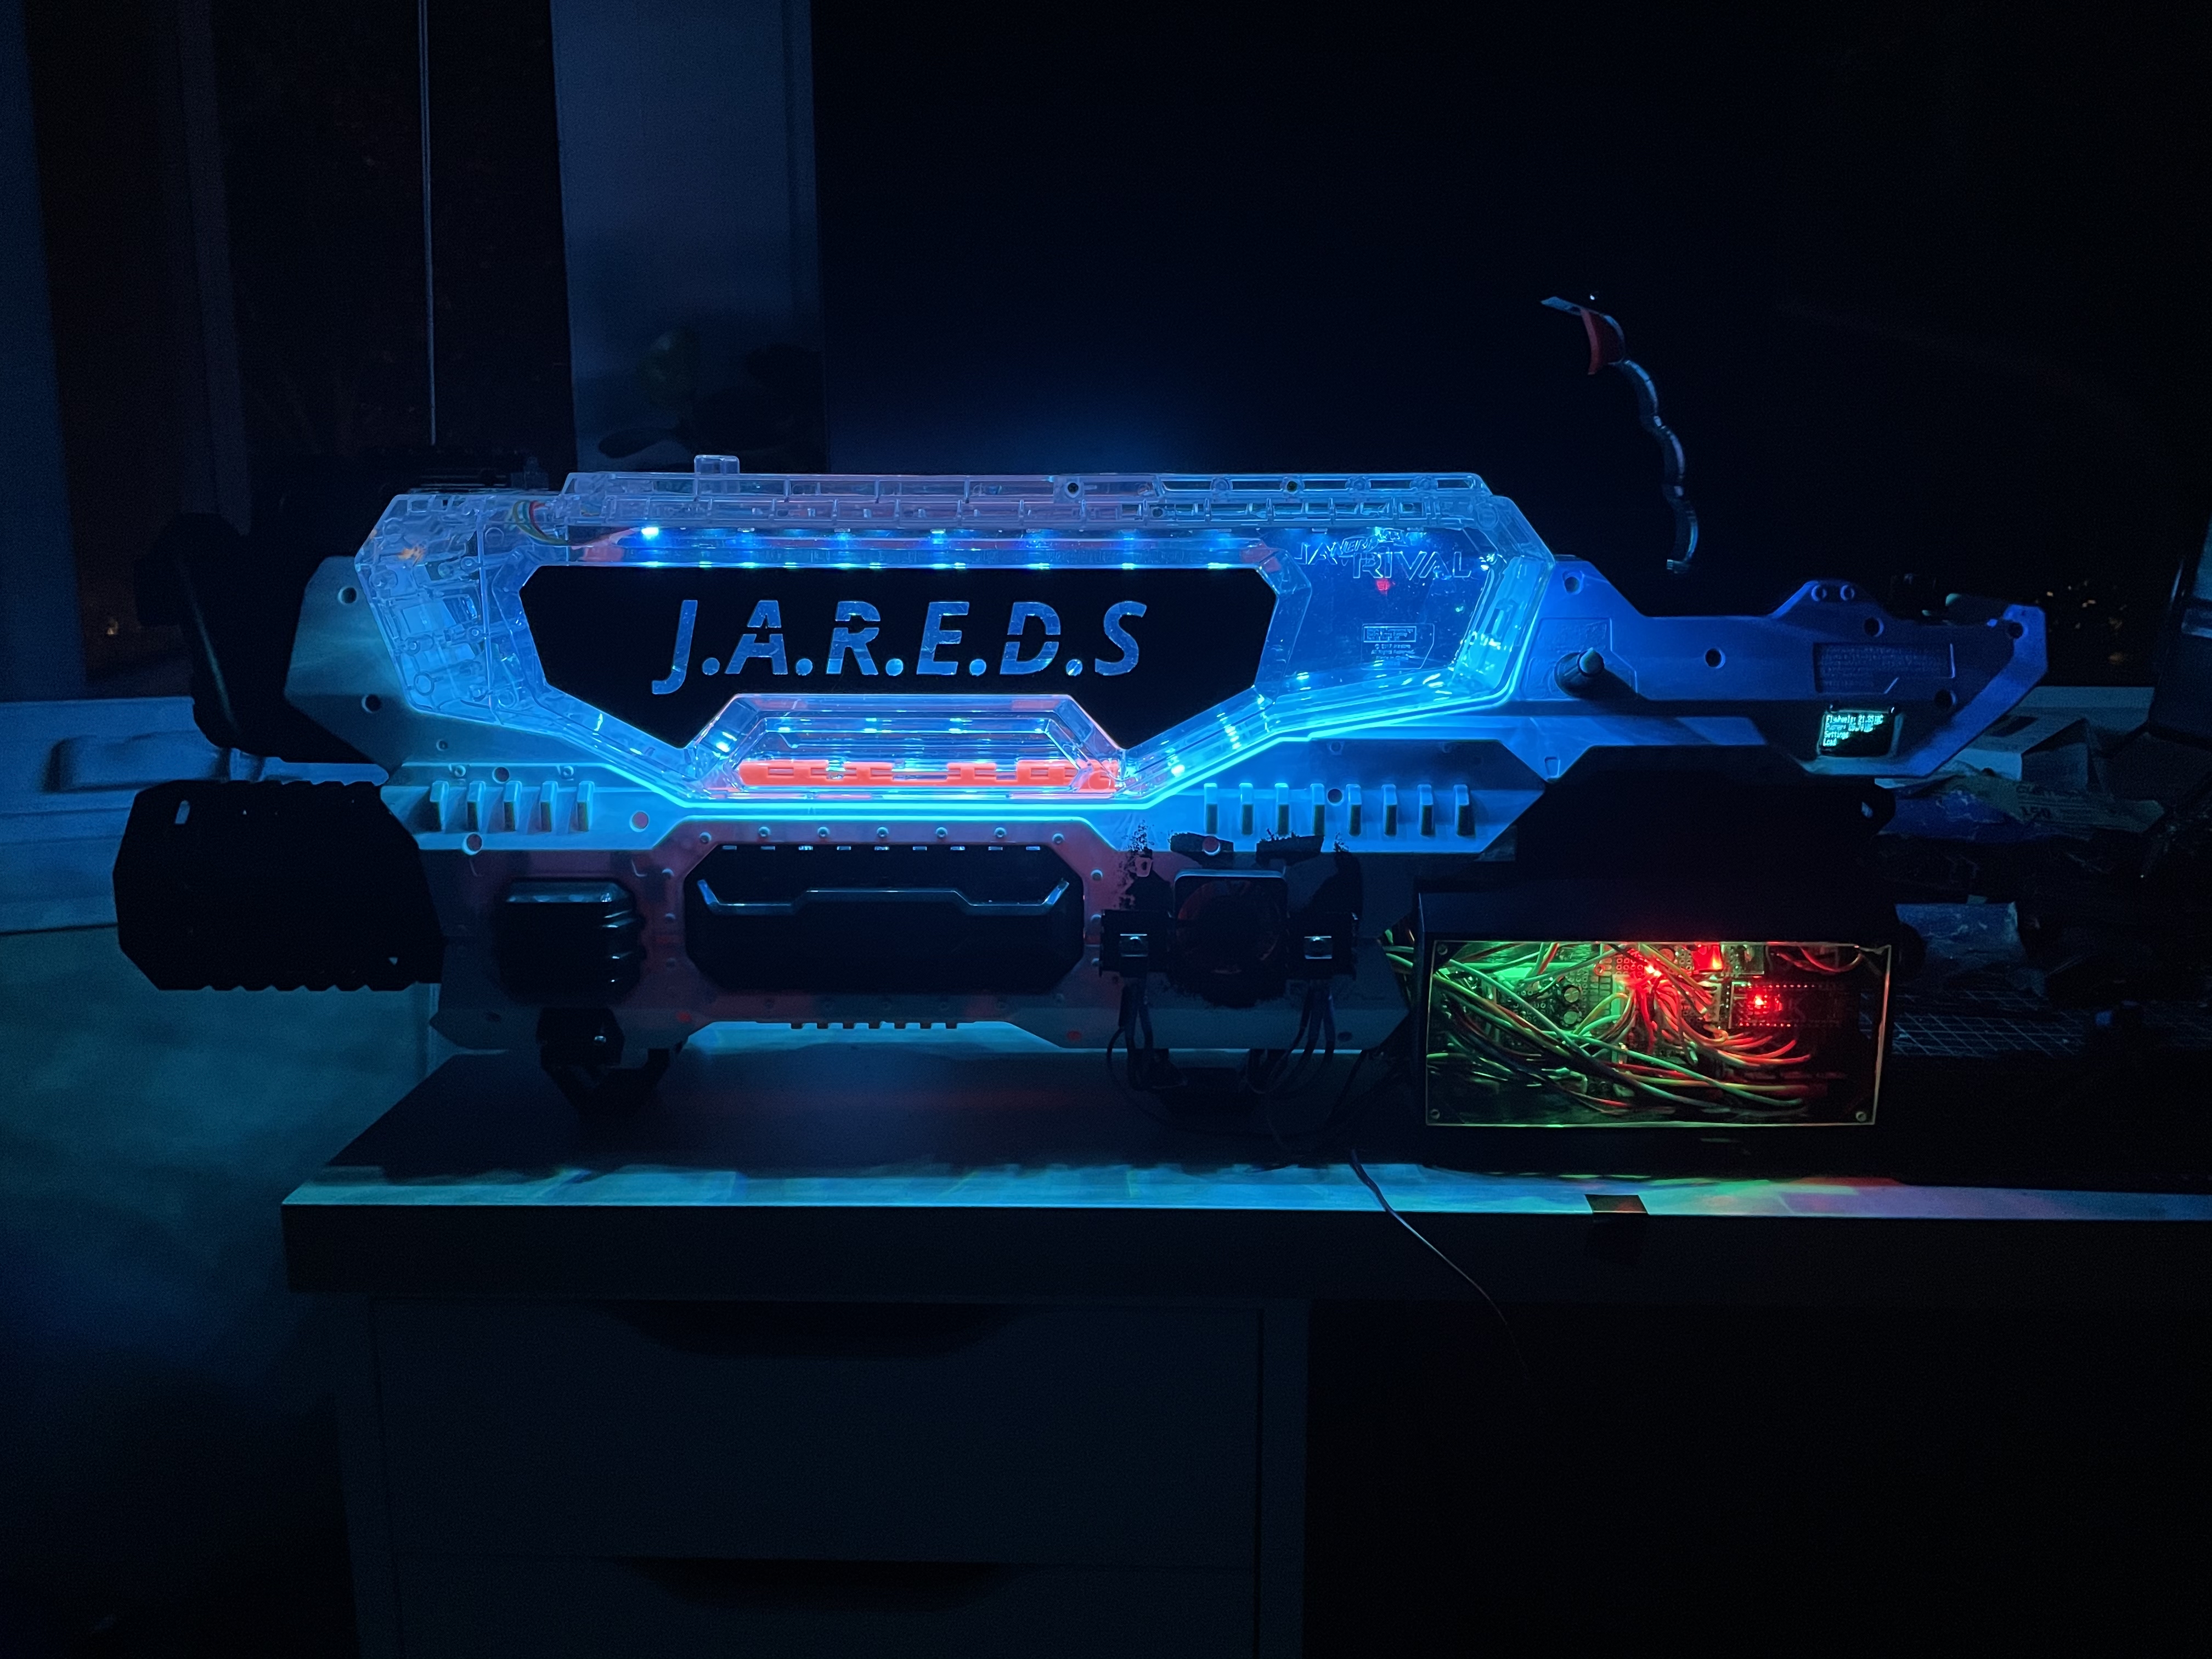
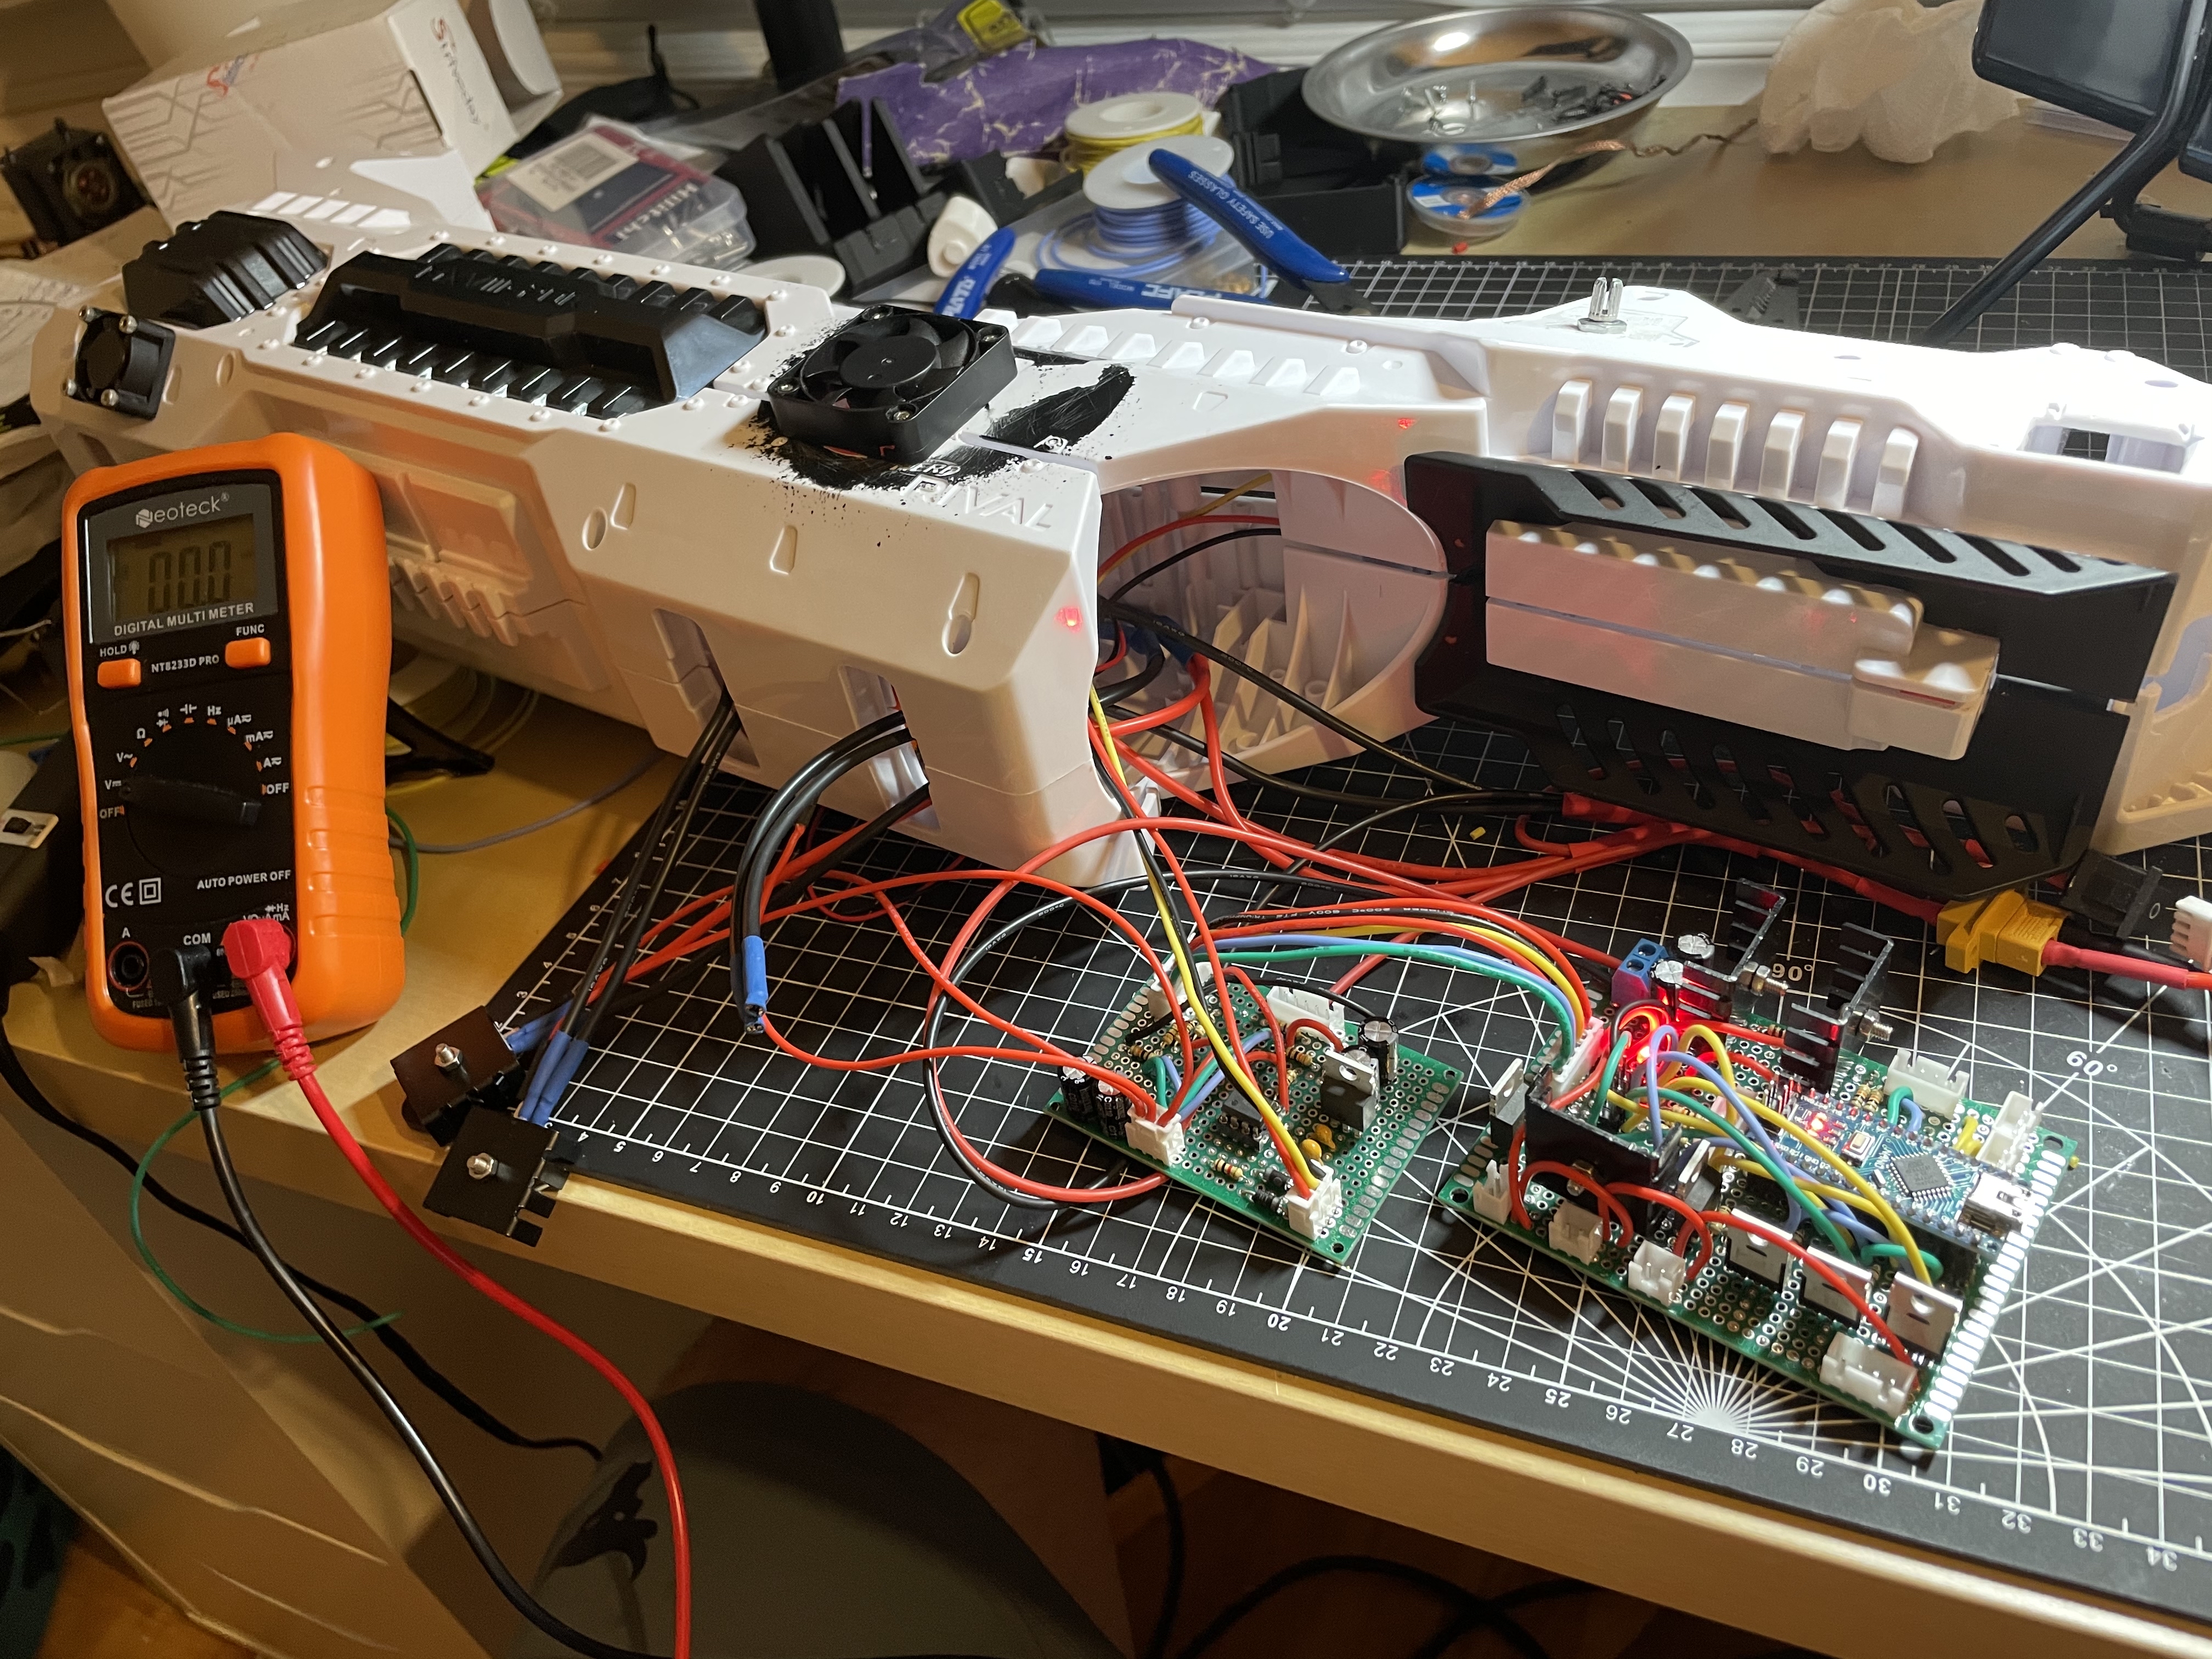
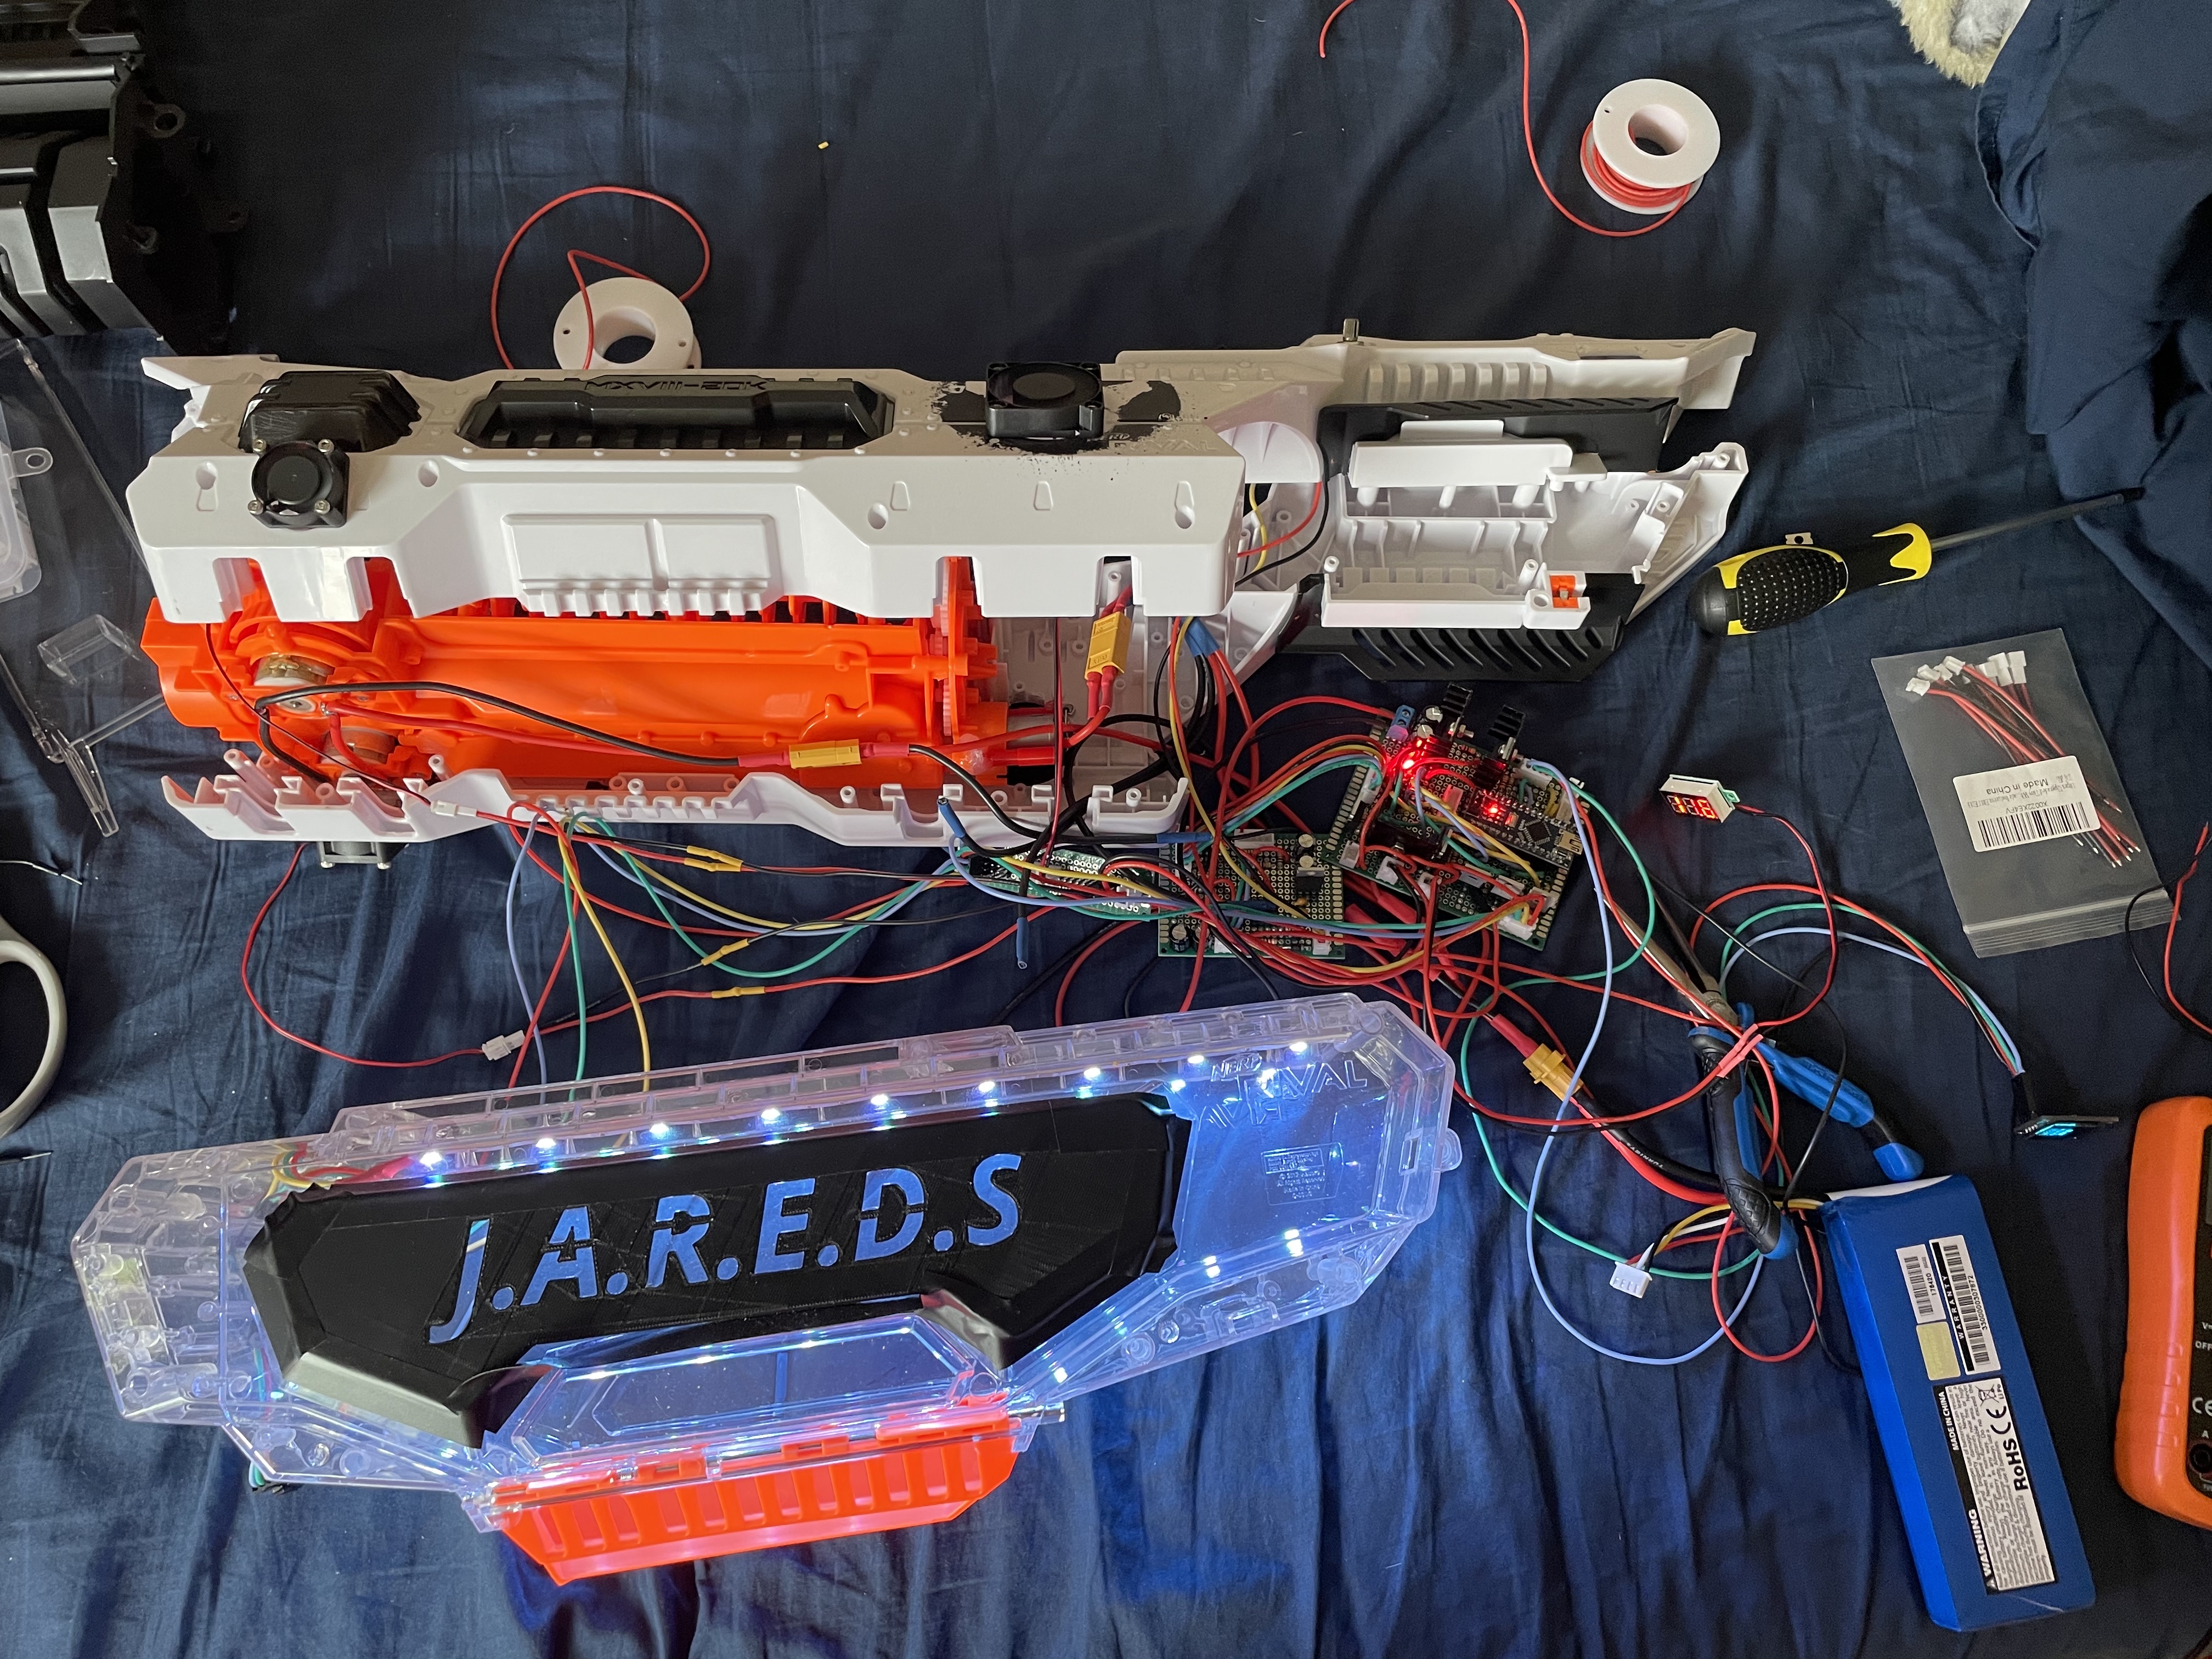
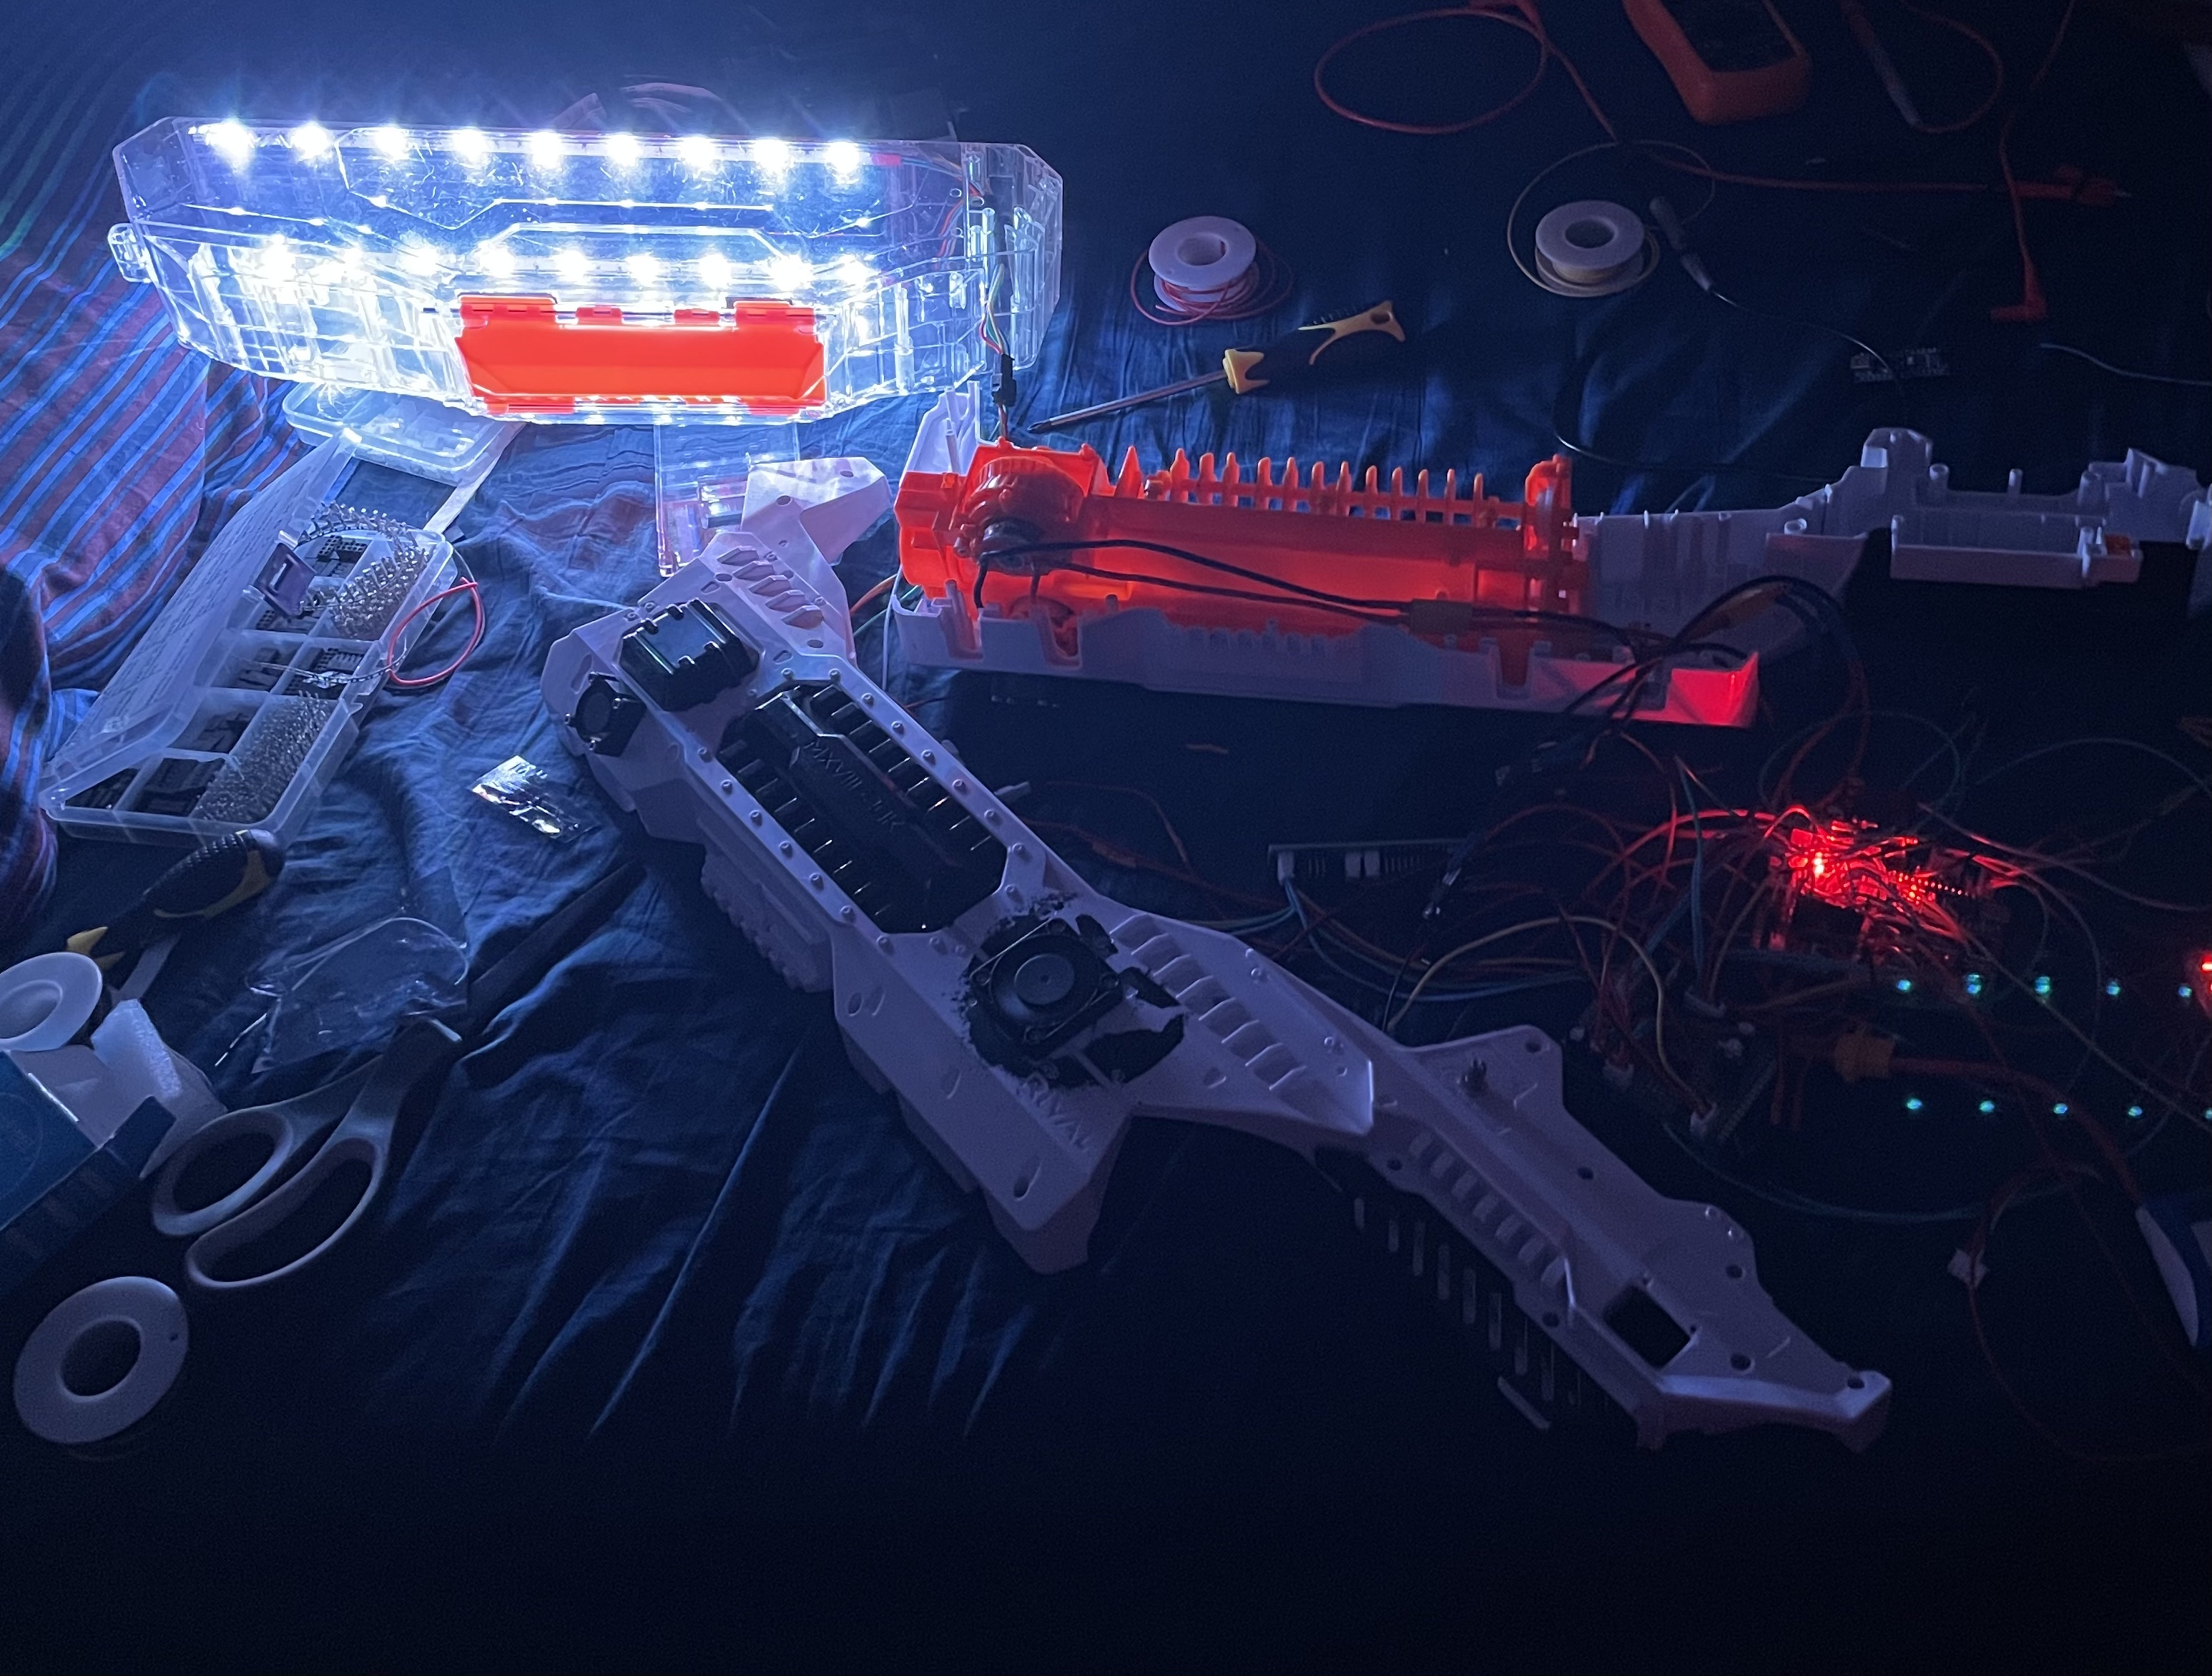
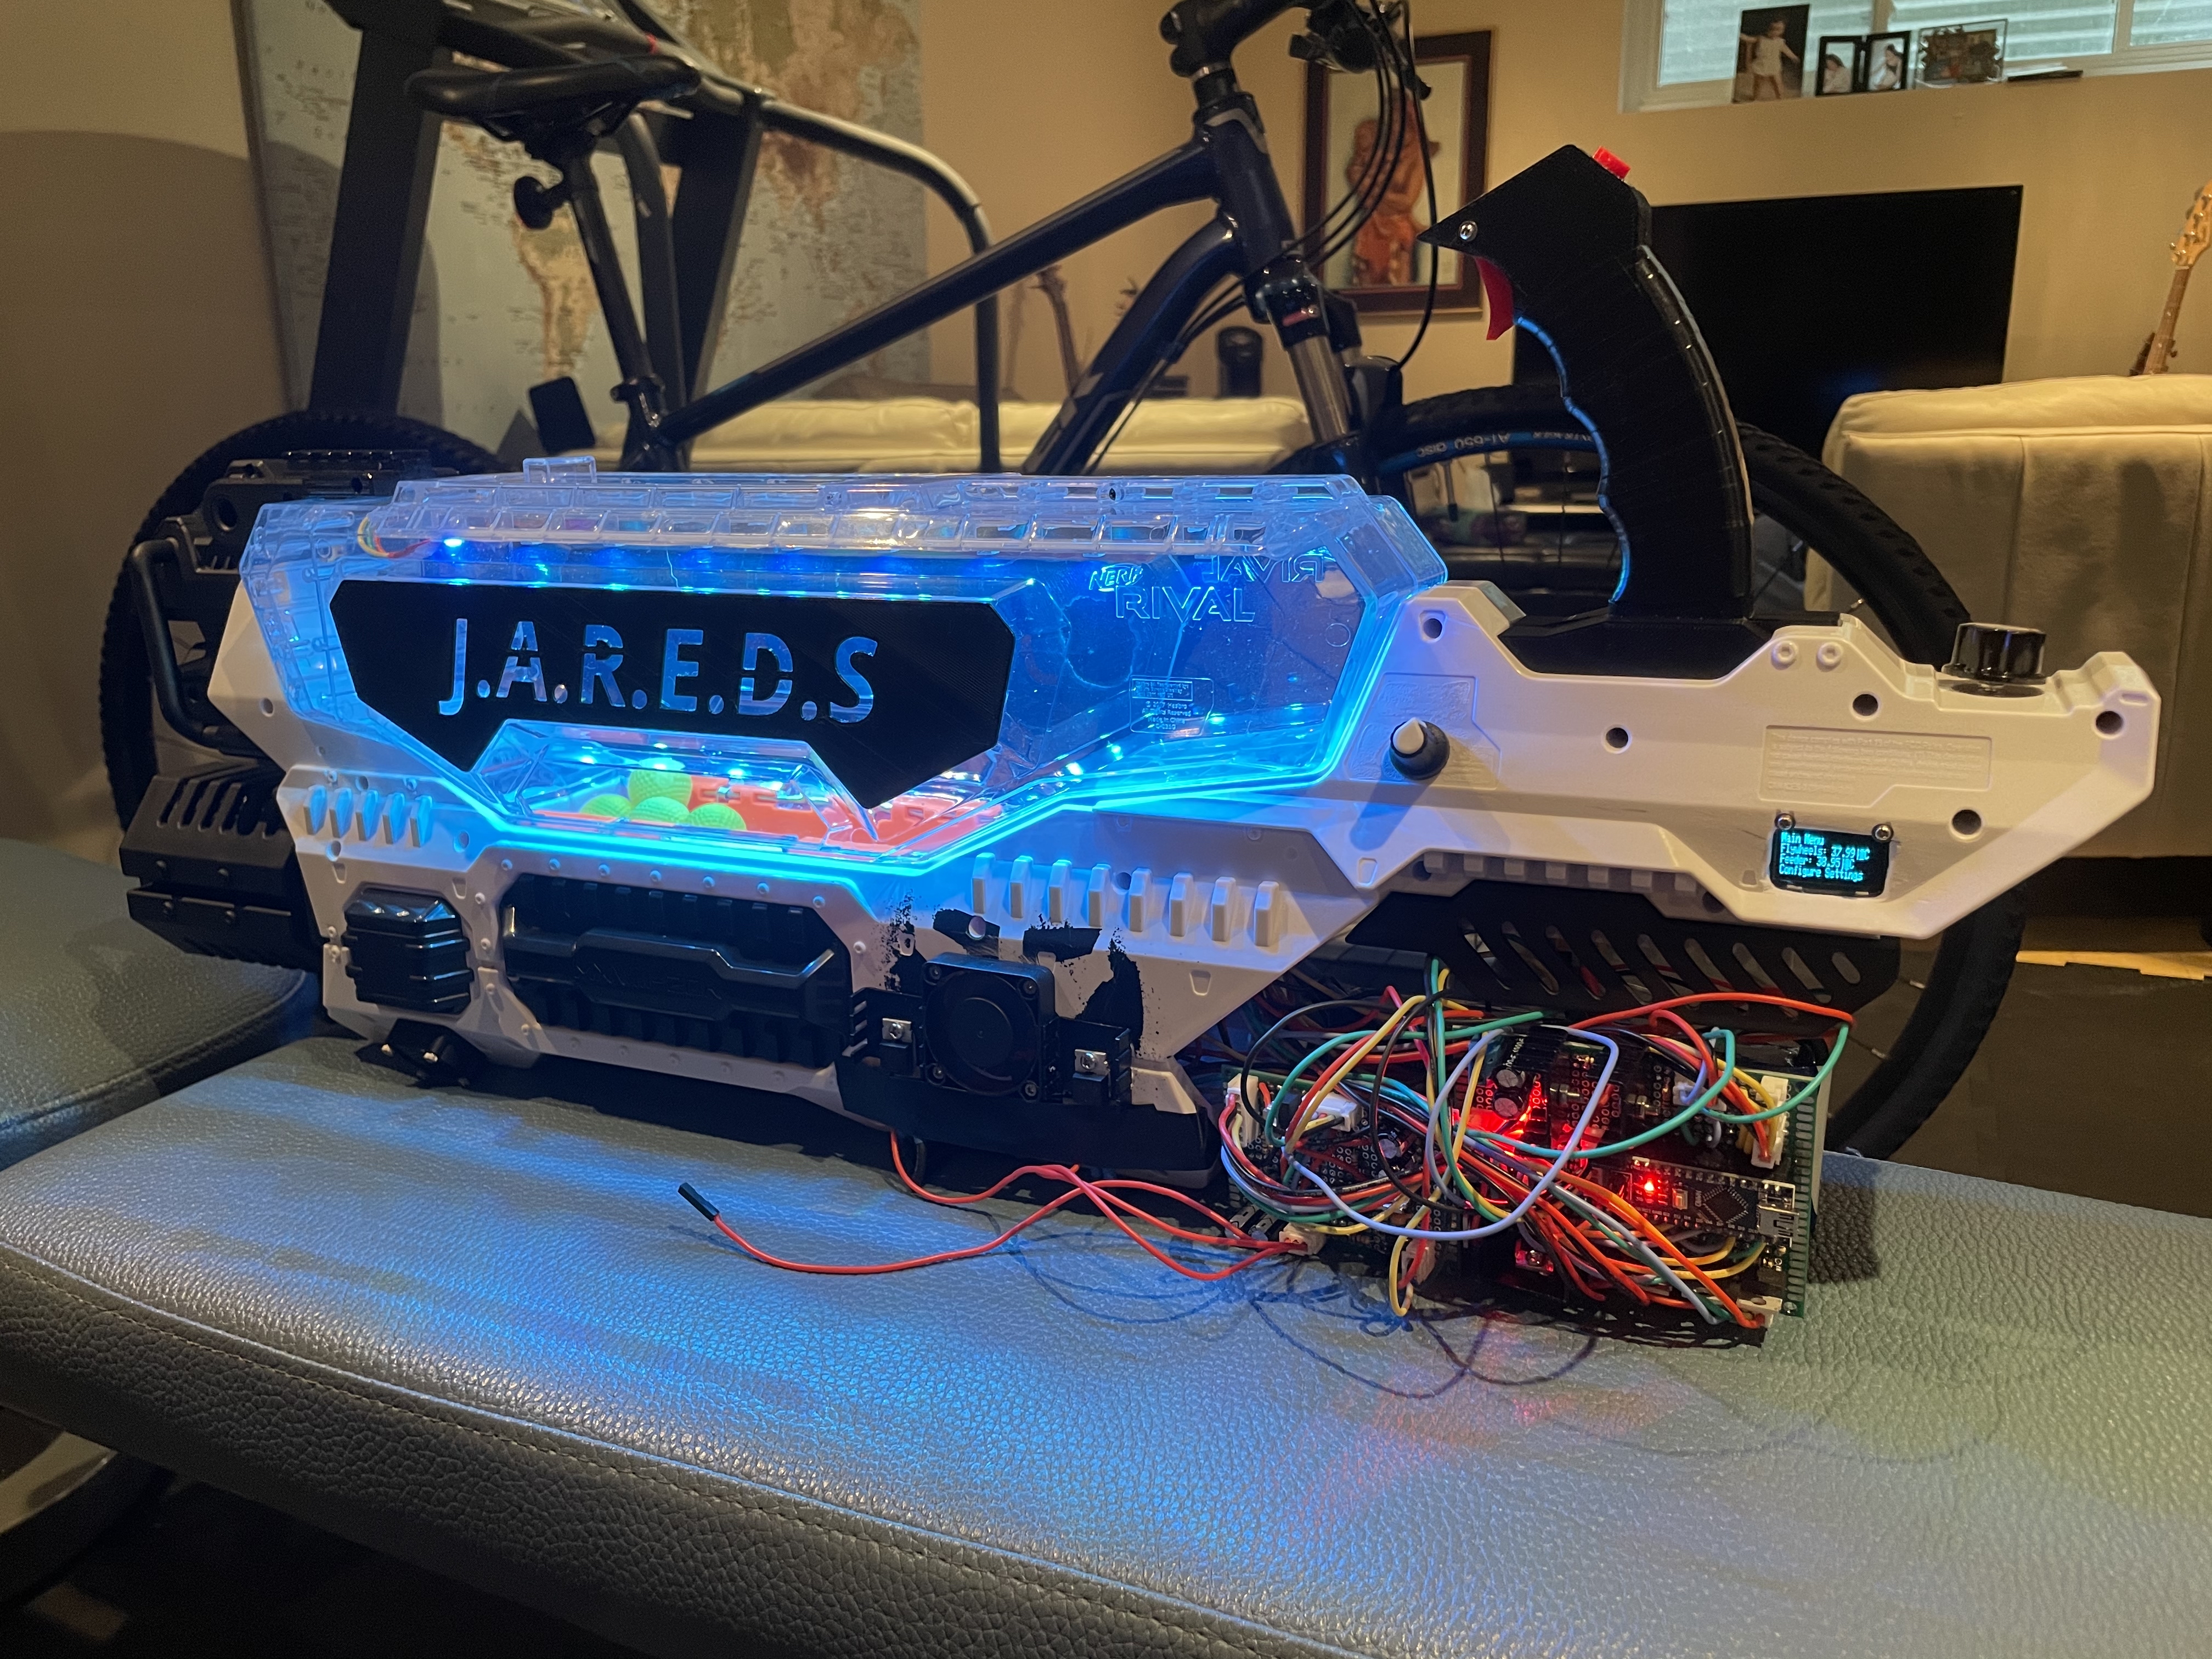
There are two main components: the gun, and the turret. The gun used was an overpriced Nerf gun that I modified to shoot a lot faster and harder. Really all this involved was rewiring the internals with better, thicker wire, replacing some of the motors, using MOSFETs to drive said motors, and replacing the trigger switches. As extra QoL features I implemented a 128x64 OLED display, with a quadrature rotary encoder with a push button to control the input. A PWM circuit with a potentiometer to adjust the duty cycle was added to control the rate of fire (The built in PWM signal generator from the Arduino GPIO was also used to control the output power, for a fun mode and a child friendly mode). A voltmeter was added to display the current voltage of the battery and cooling fans were installed on both sides surrounding each motor. Most importantly, LEDs were installed along the top of the hopper. The entire gun was powered off of a 5000mAh 3s LiPo battery, and the electronics were all controlled using an Arduino Nano.
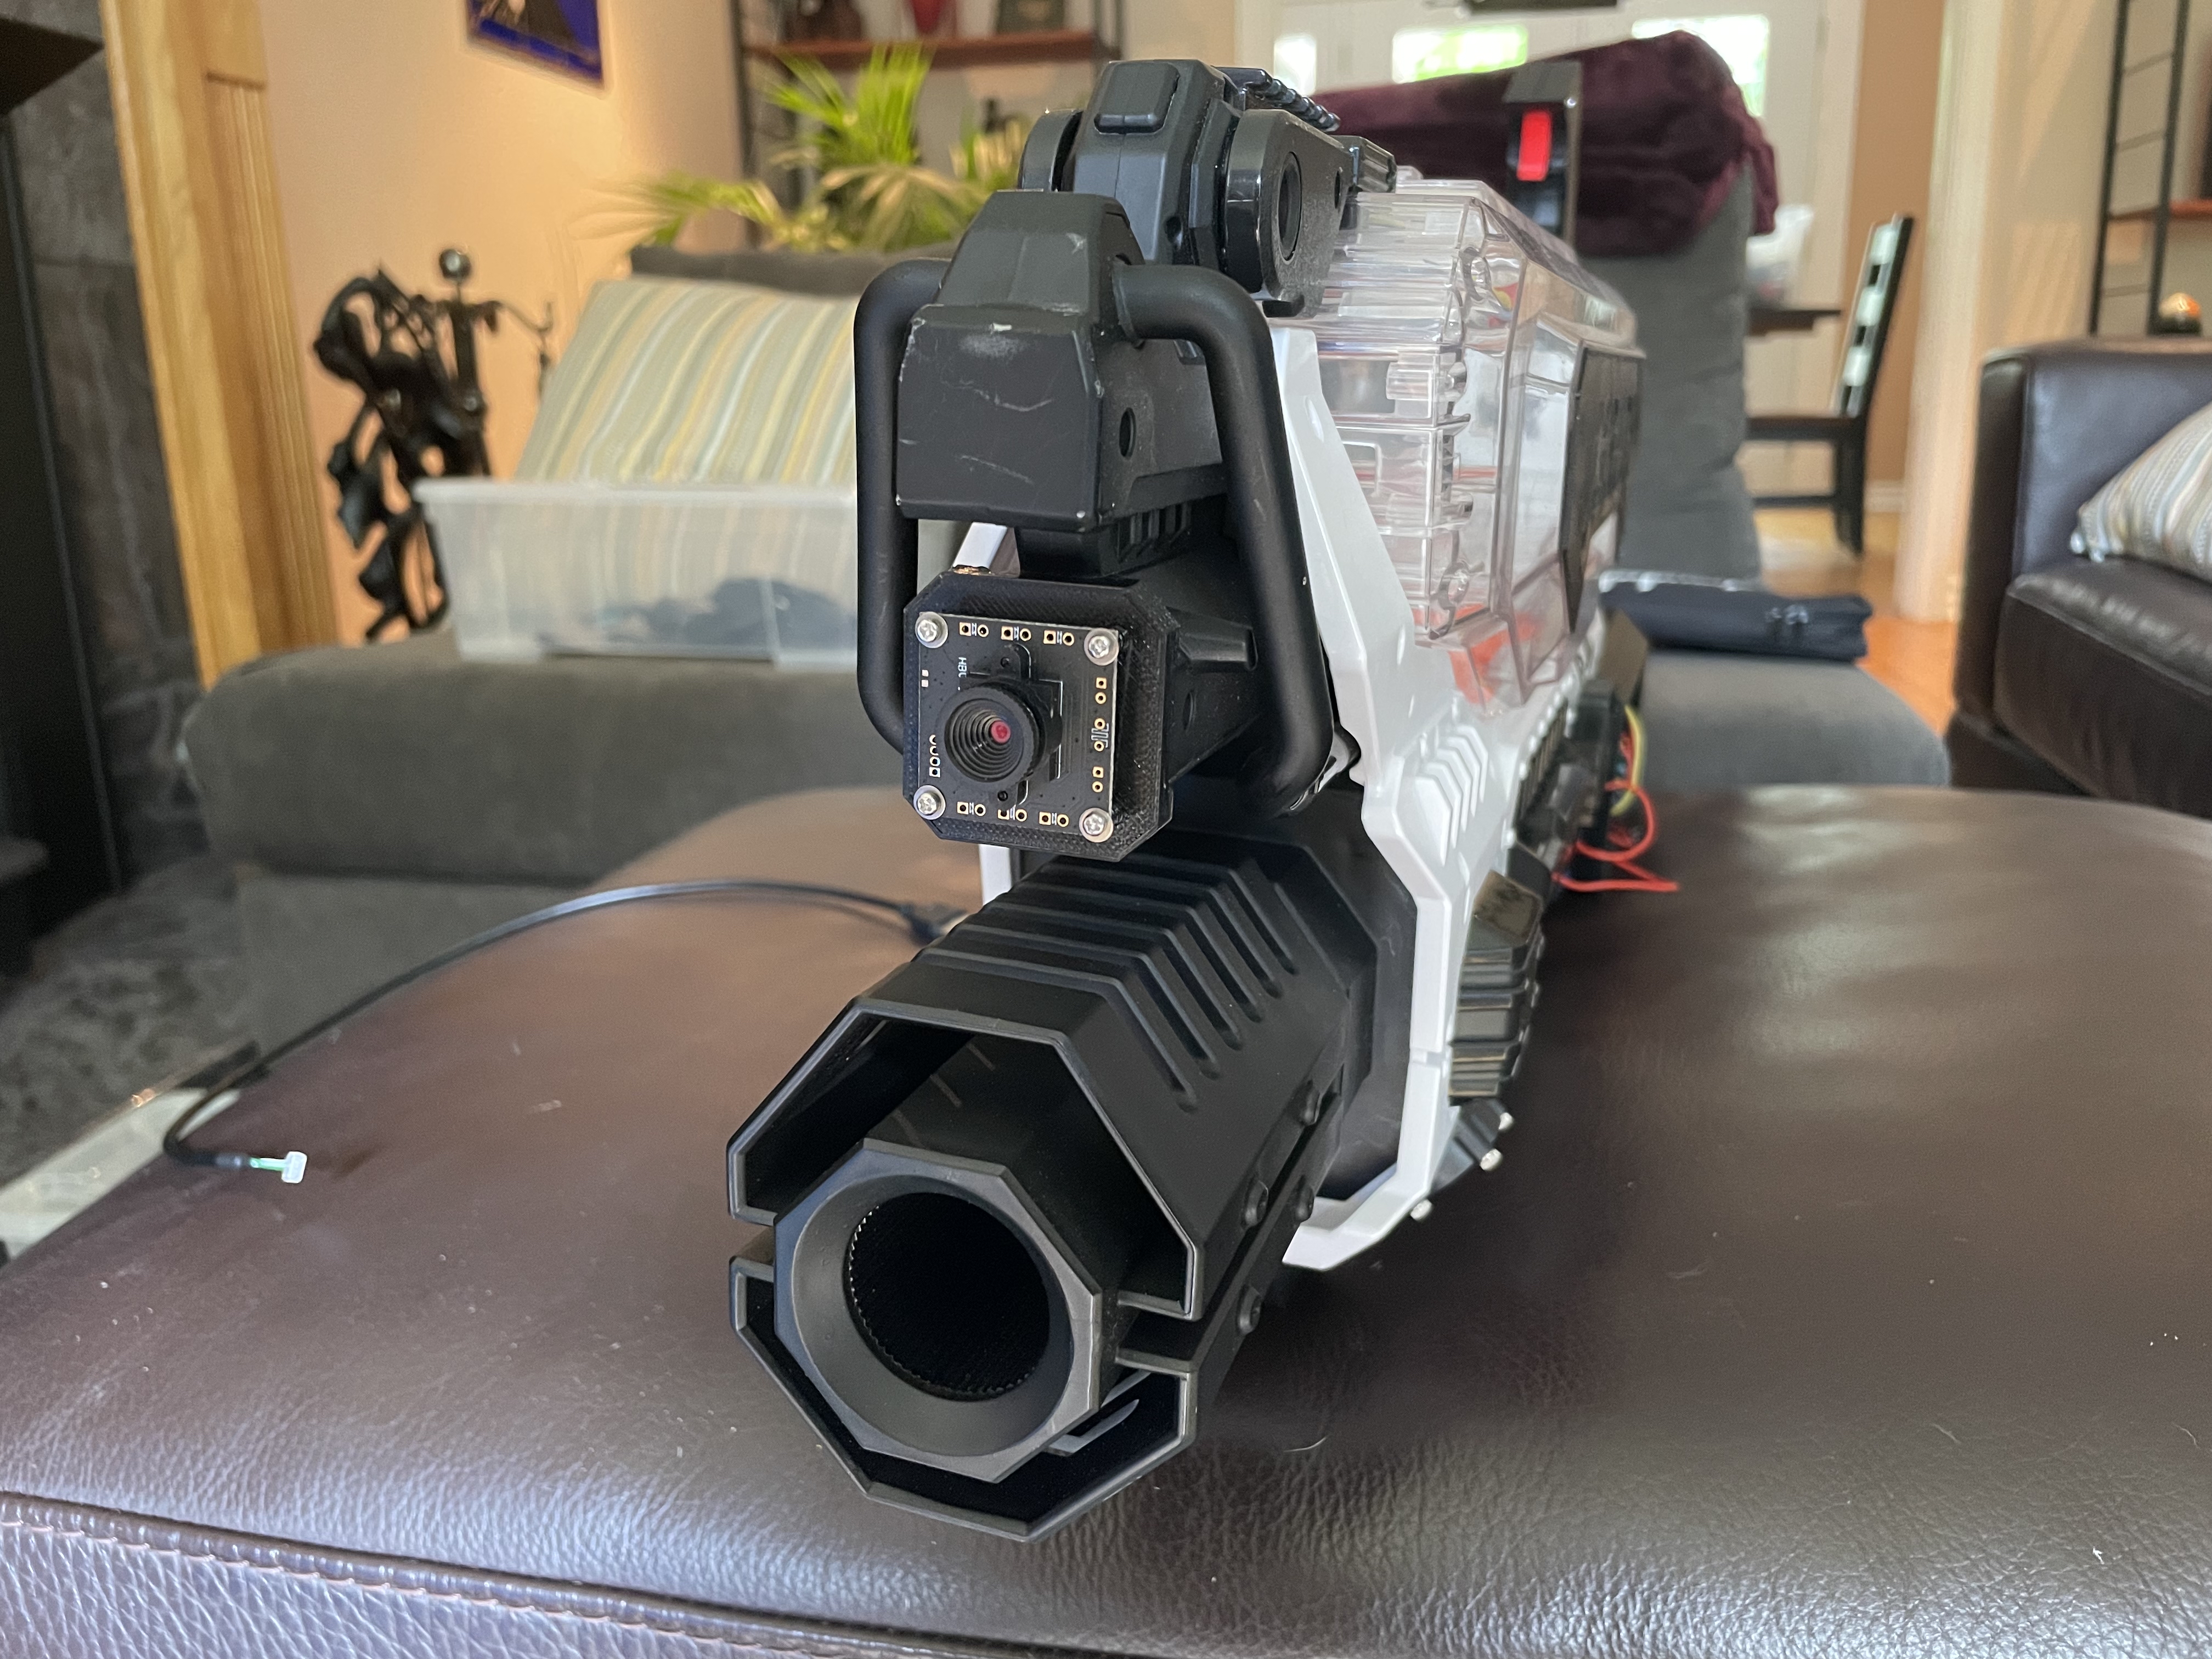
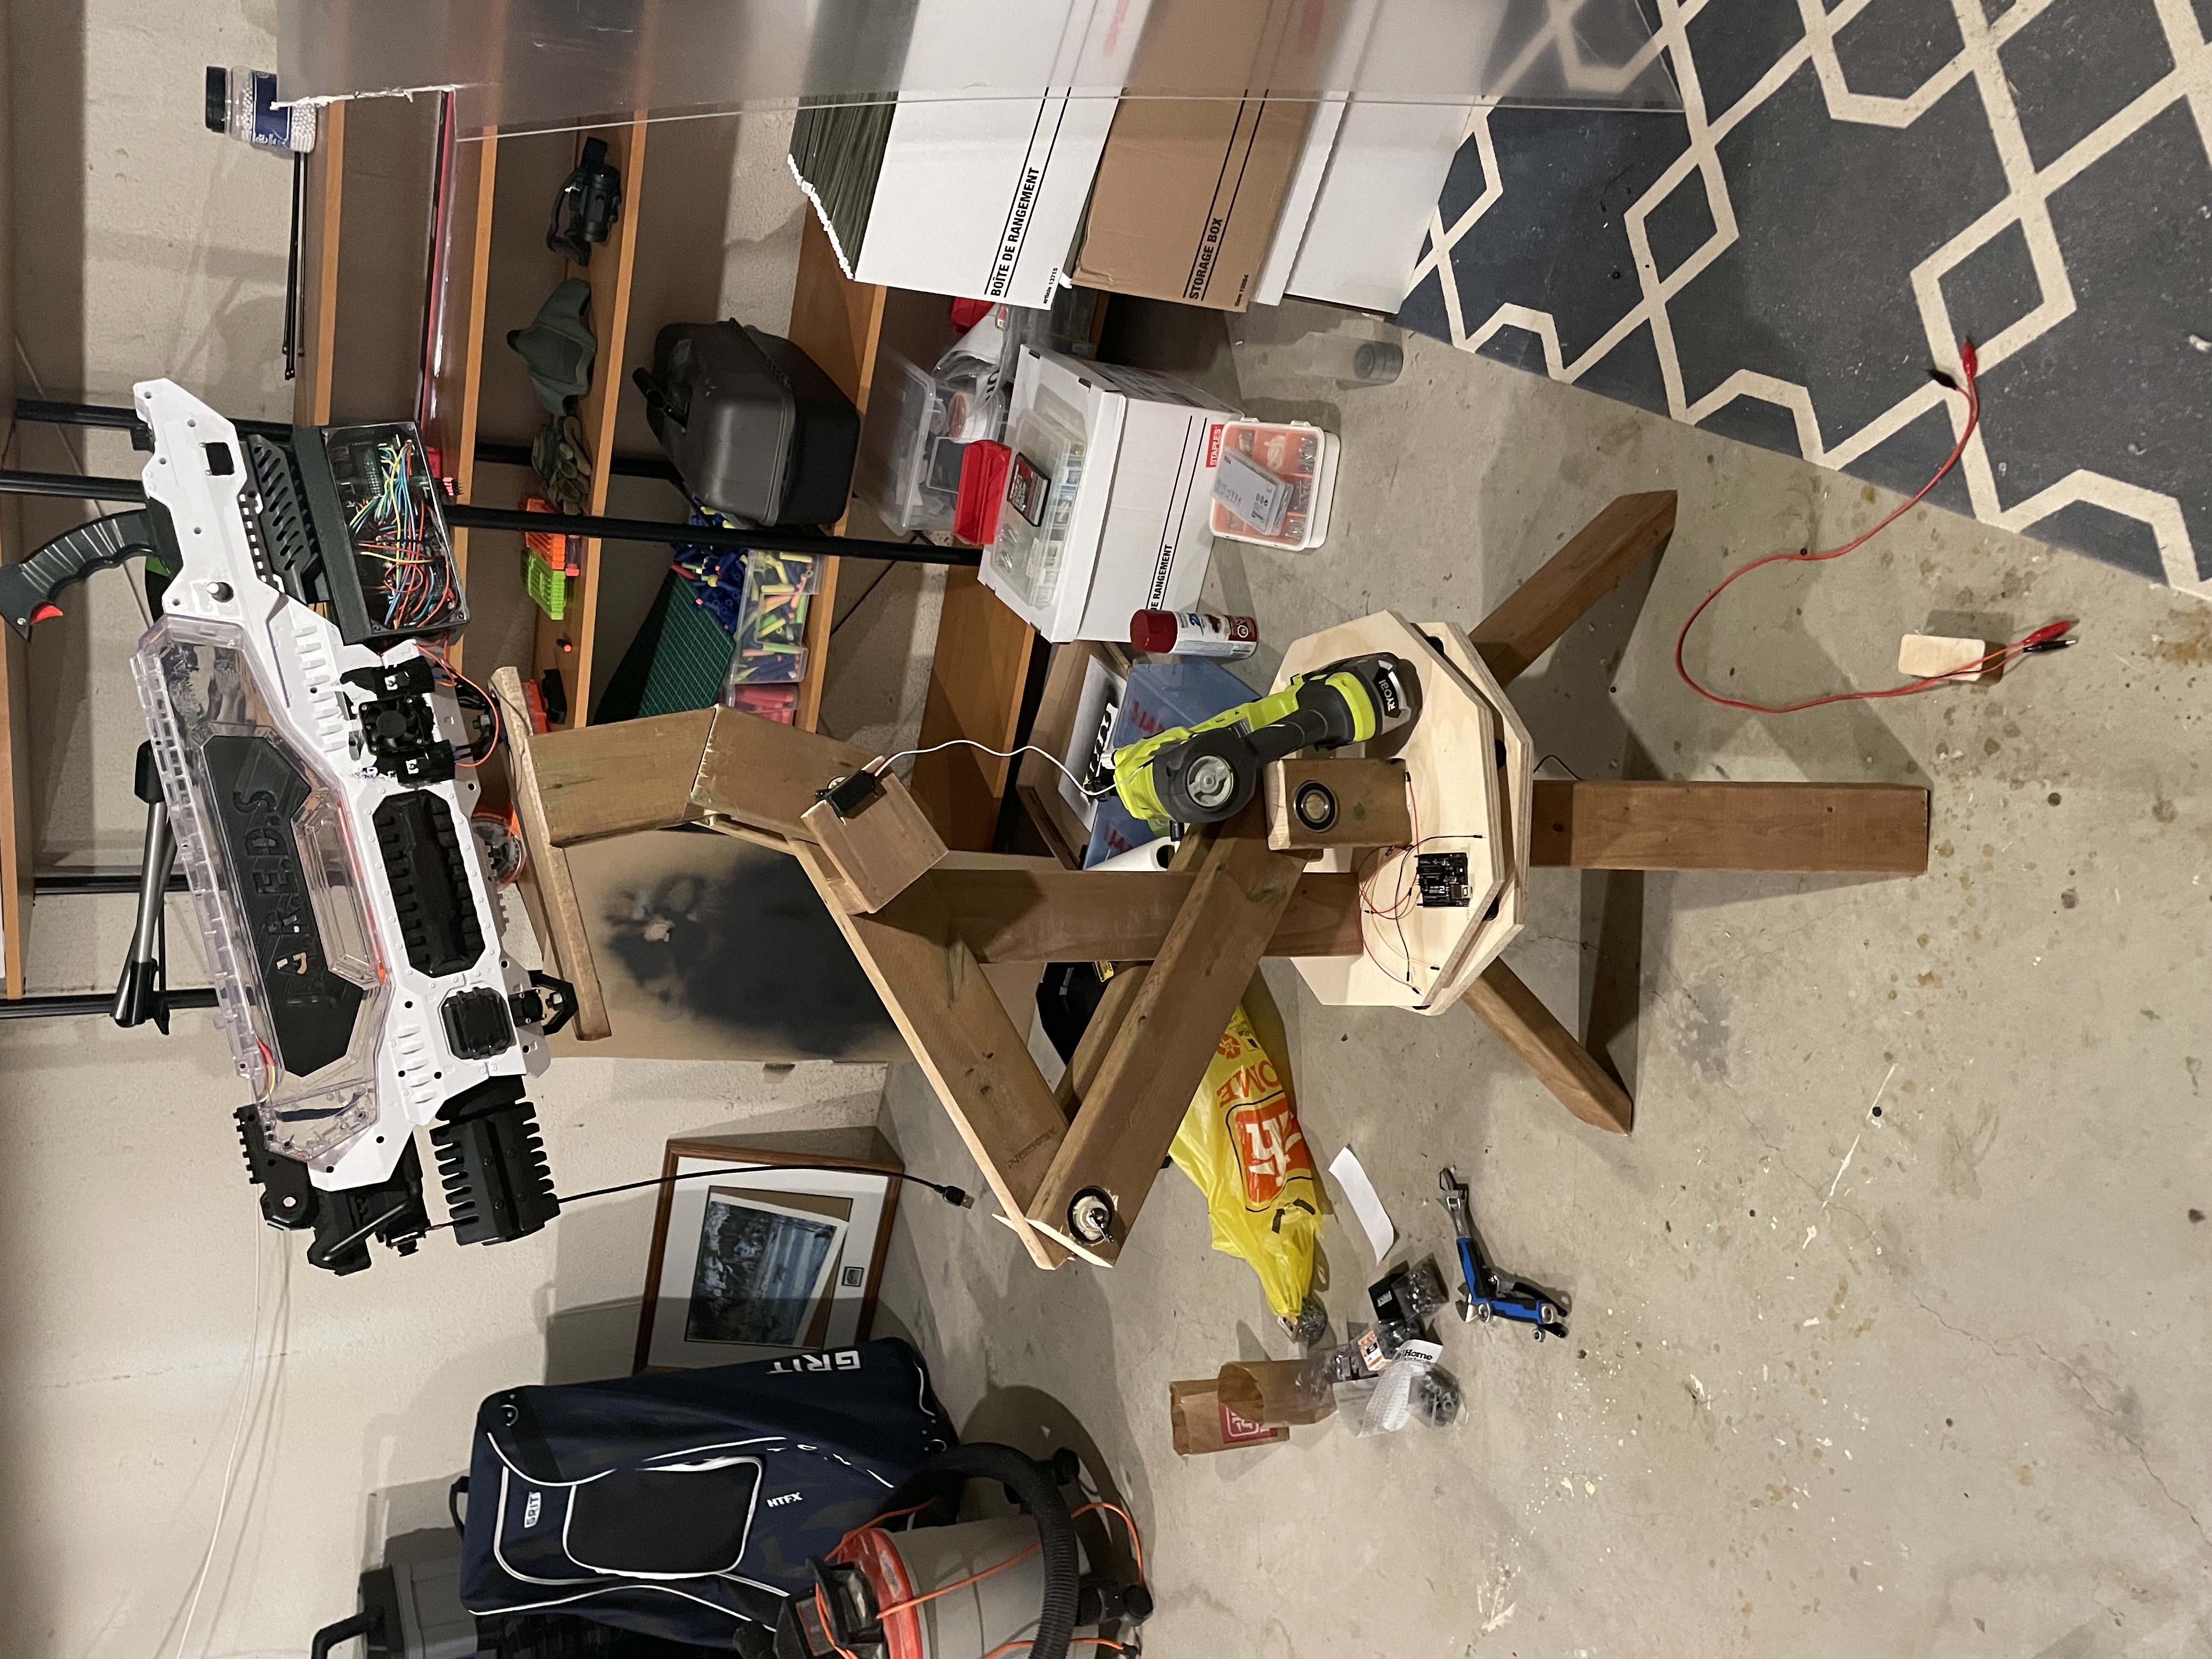
The second component, the turret, was created using wood as the main structural component, and servos were used to control the positioning. Extremely poor judgement led to some problems down the road resulting in the turret not funcioning as intended. The plan to automate the turret was to mount a camera to the front of the Nerf gun. This camera would be connected to a Raspberry Pi 4B+ connected via USB 2.0 Type A. A Python script using OpenCV would scan for people/movement and act accordingly. The Raspberry Pi would then be connected to a secondary Arduino Nano mounted on the turret which would drive the servo motors, and was interfaced with the main gun system Arduino Nano via USB. The latter microcontroller autonomously controlled the firing of the gun. I won't go into full detail of the systems here, but for more information you can check out the hardware requirements specifications document here preliminary design document here
.As required by the course, I kept a journal log of everything that I did during the project. It got to be about 107 pages by the end. Unfortunately that was on my own school account, which has since been deleted by the school board shortly after I graduated.
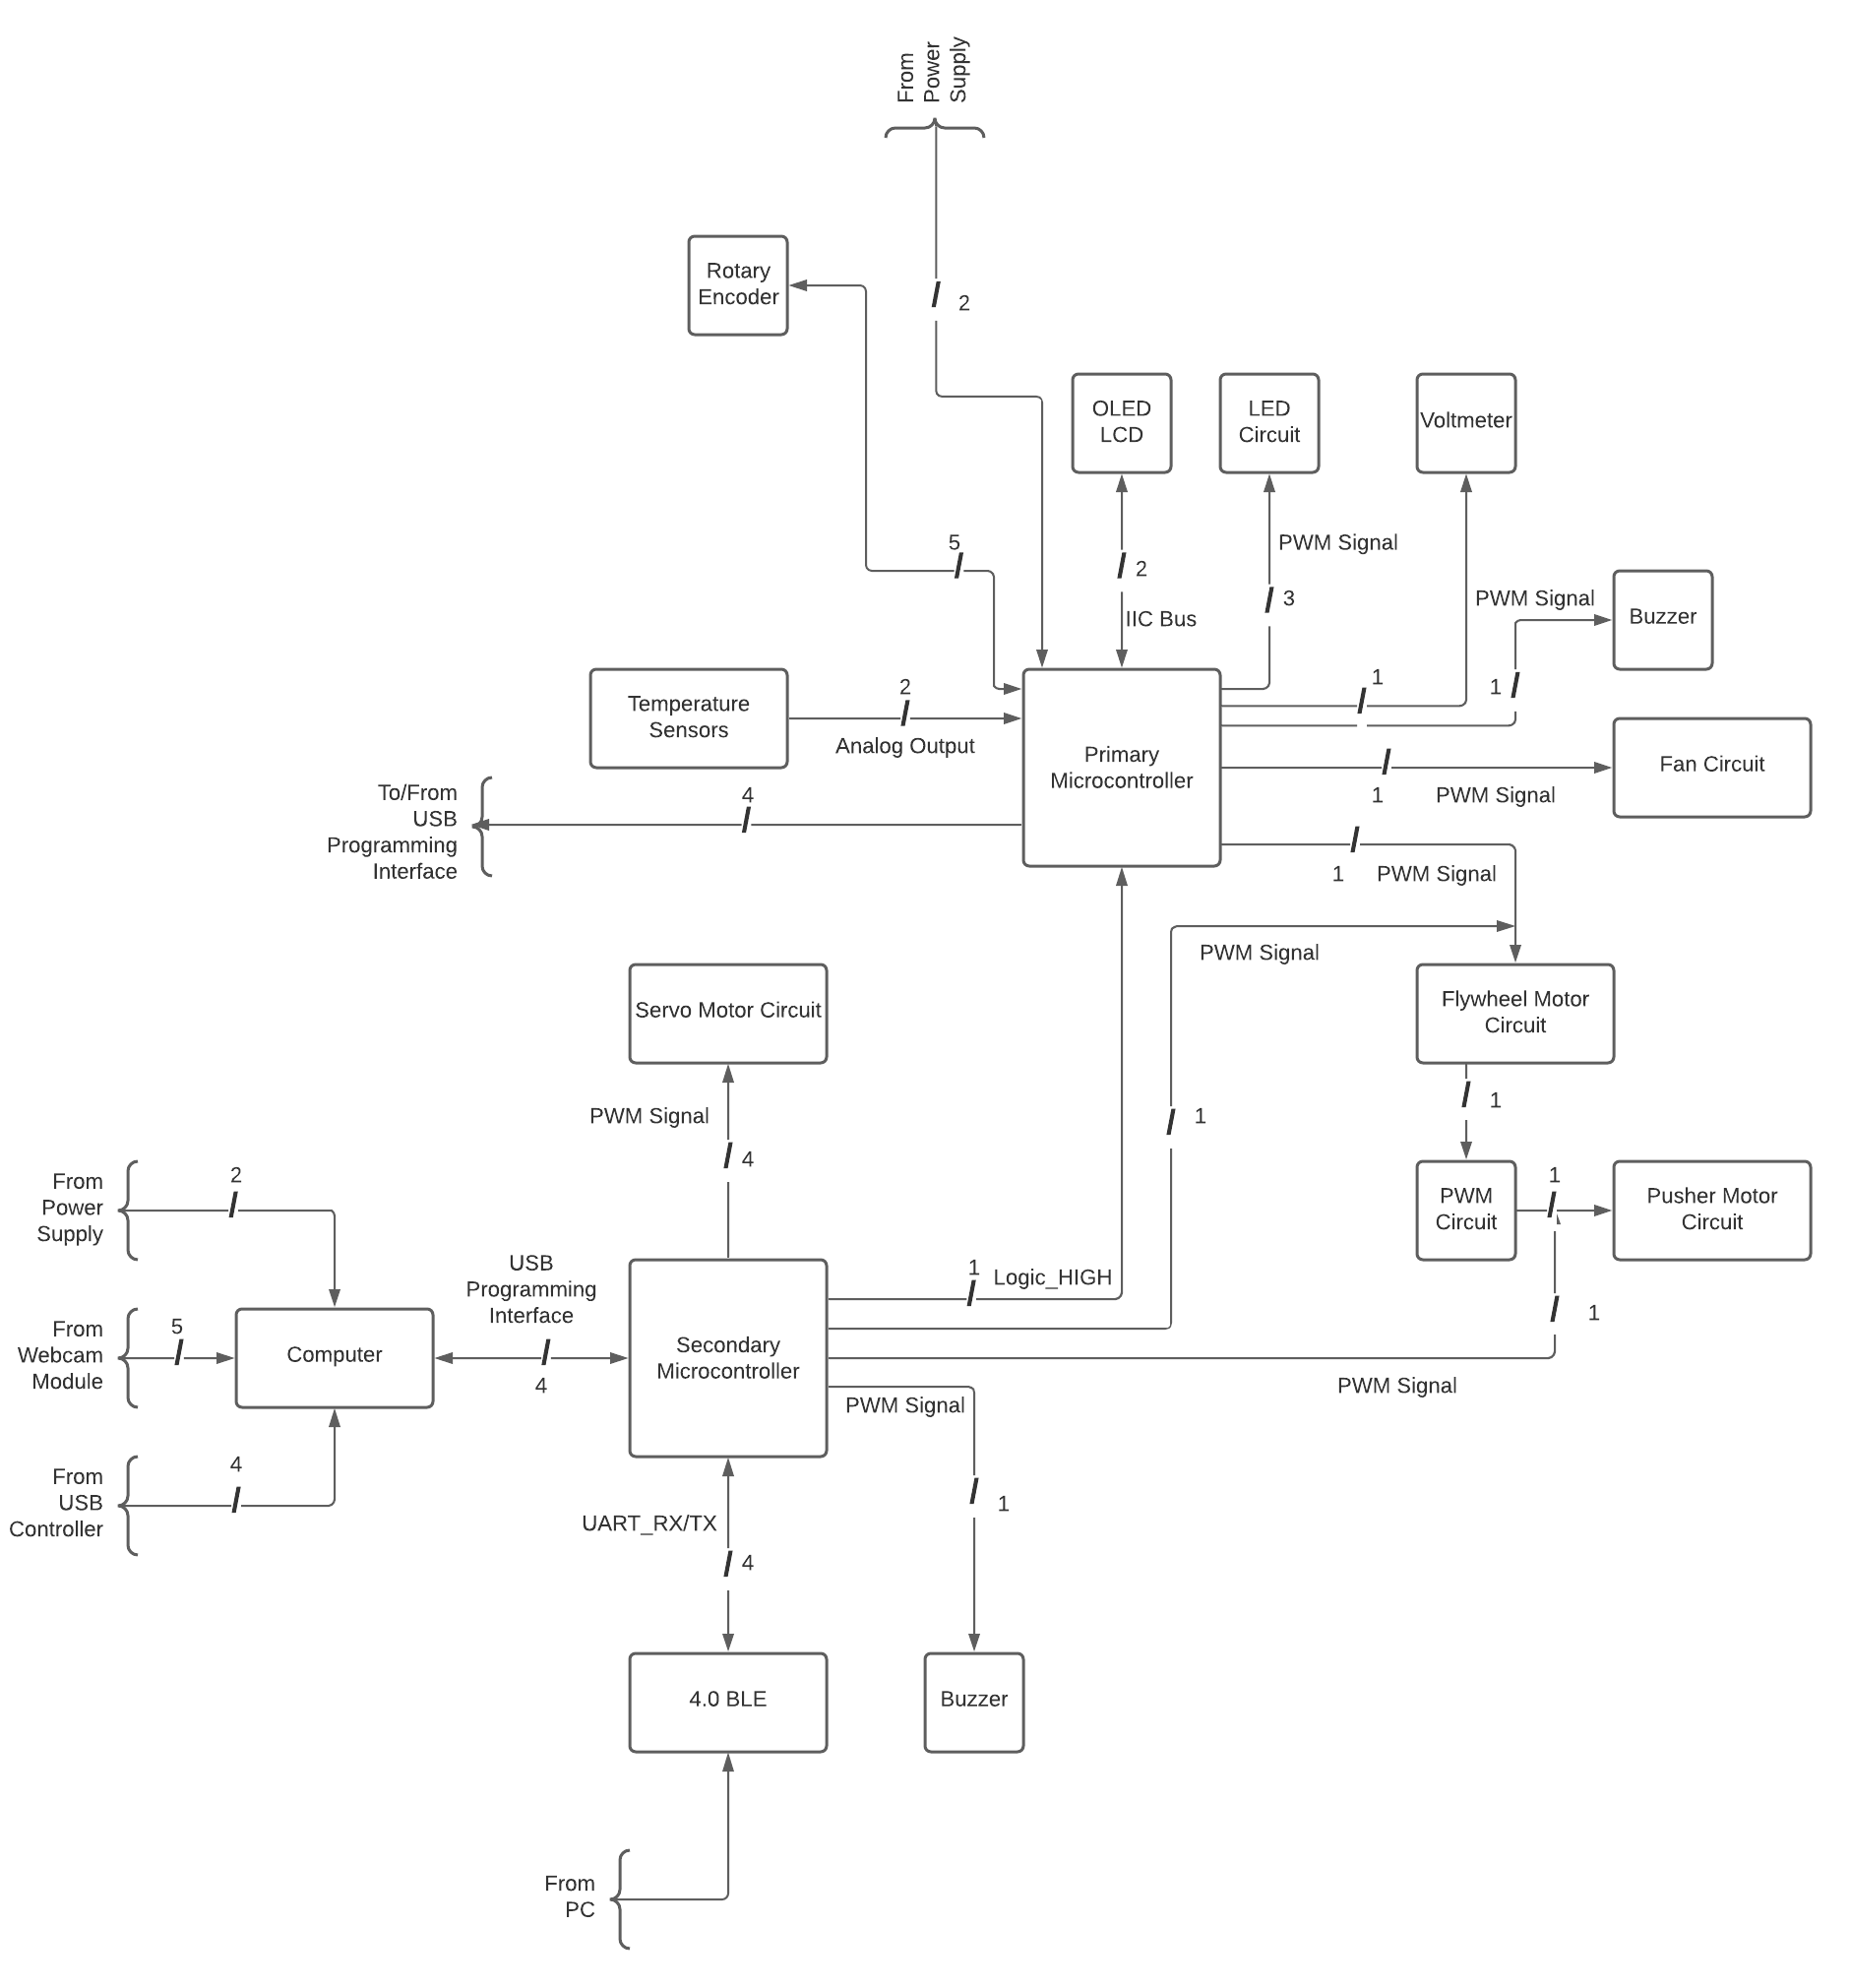
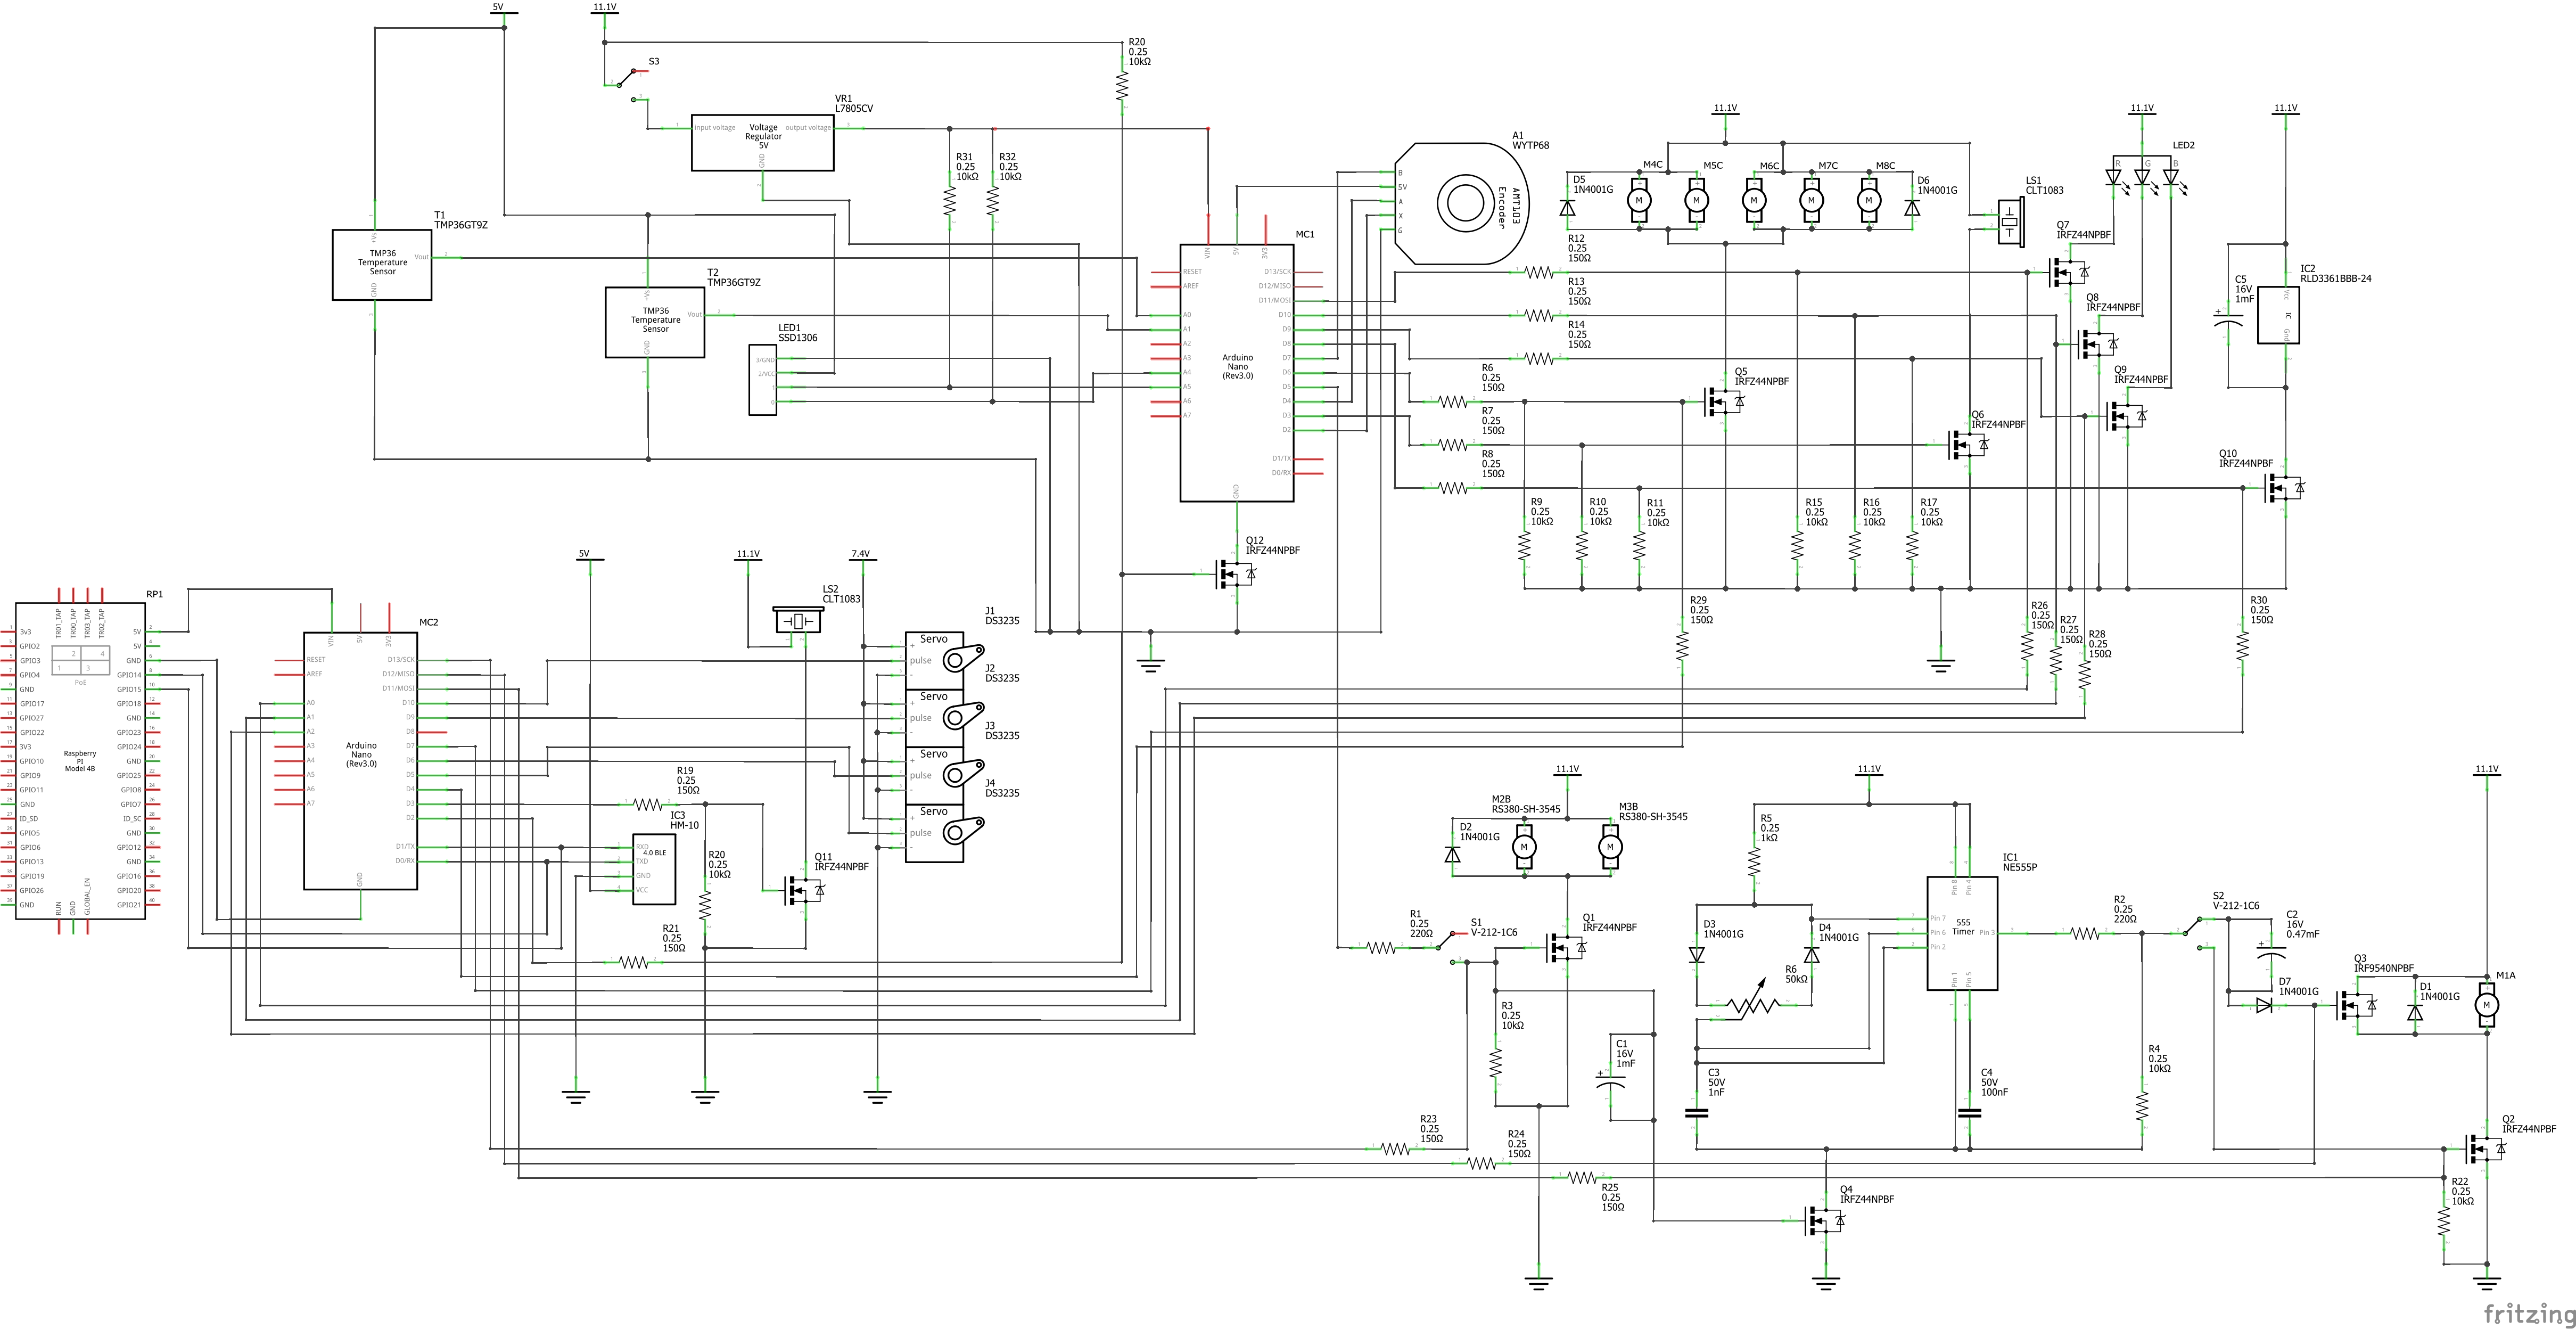
To simplify things, here is a basic block diagram and schematic explaining the circuit, it should be fairly self-explanatory.
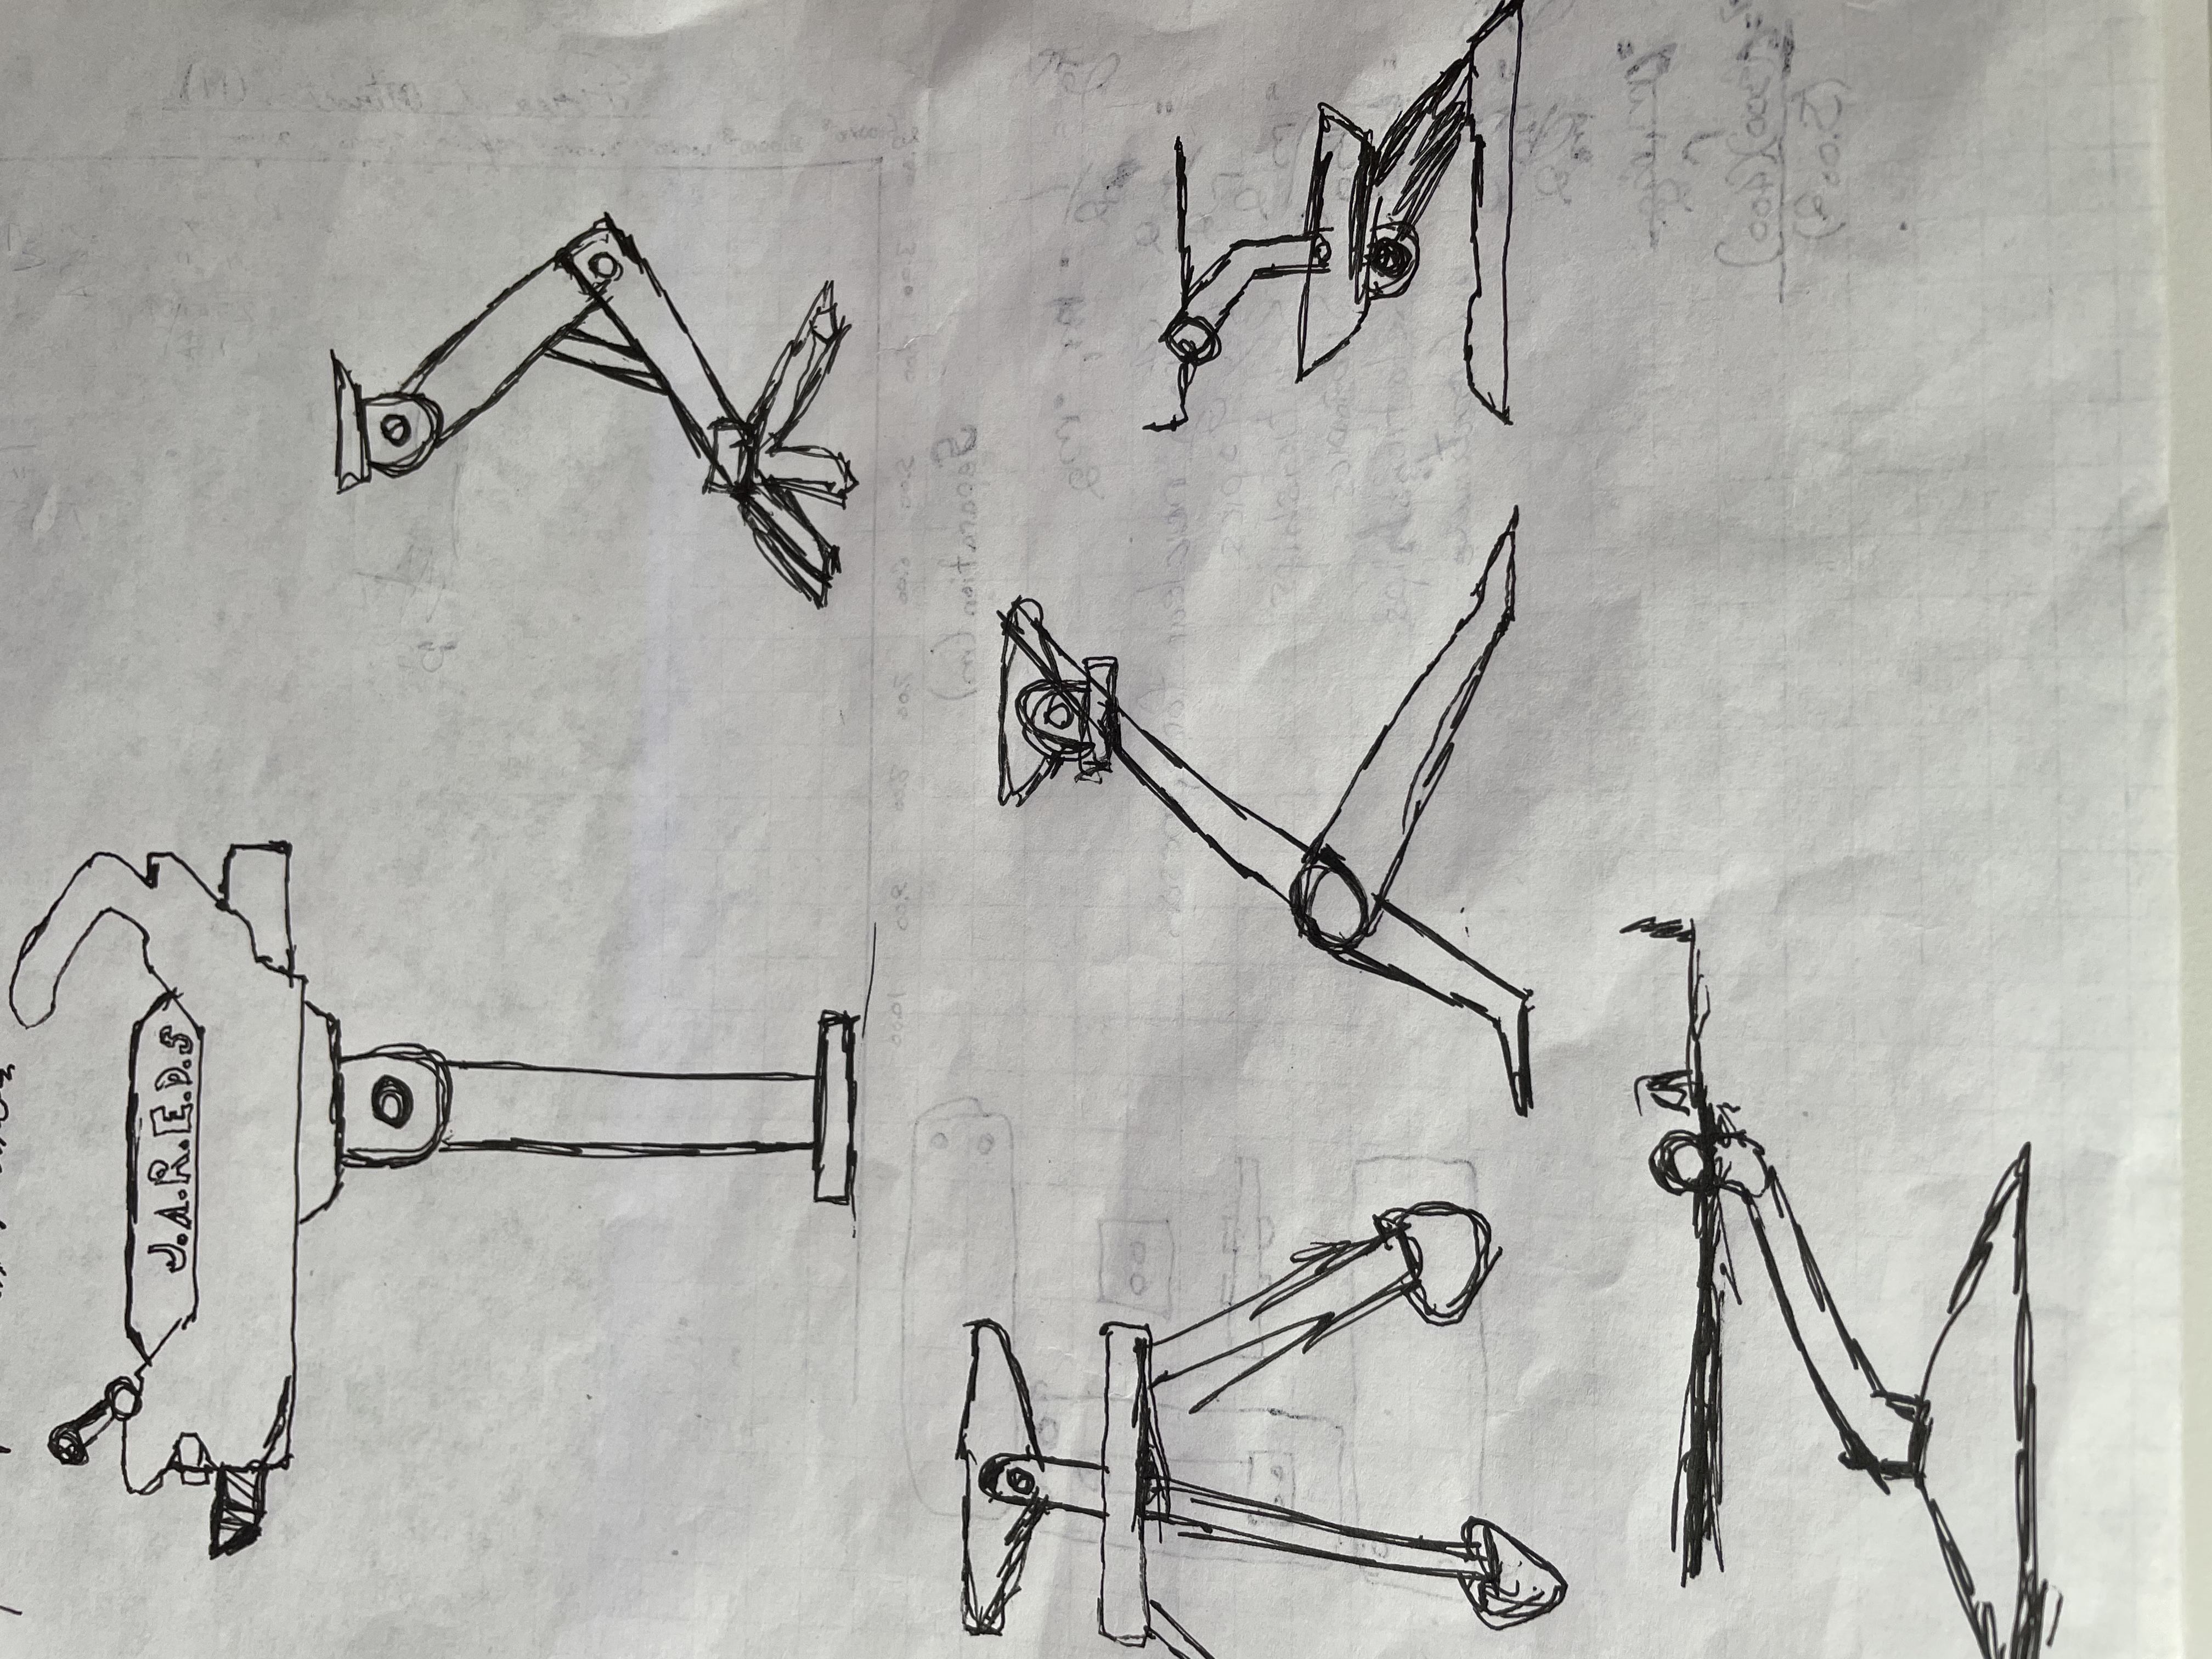
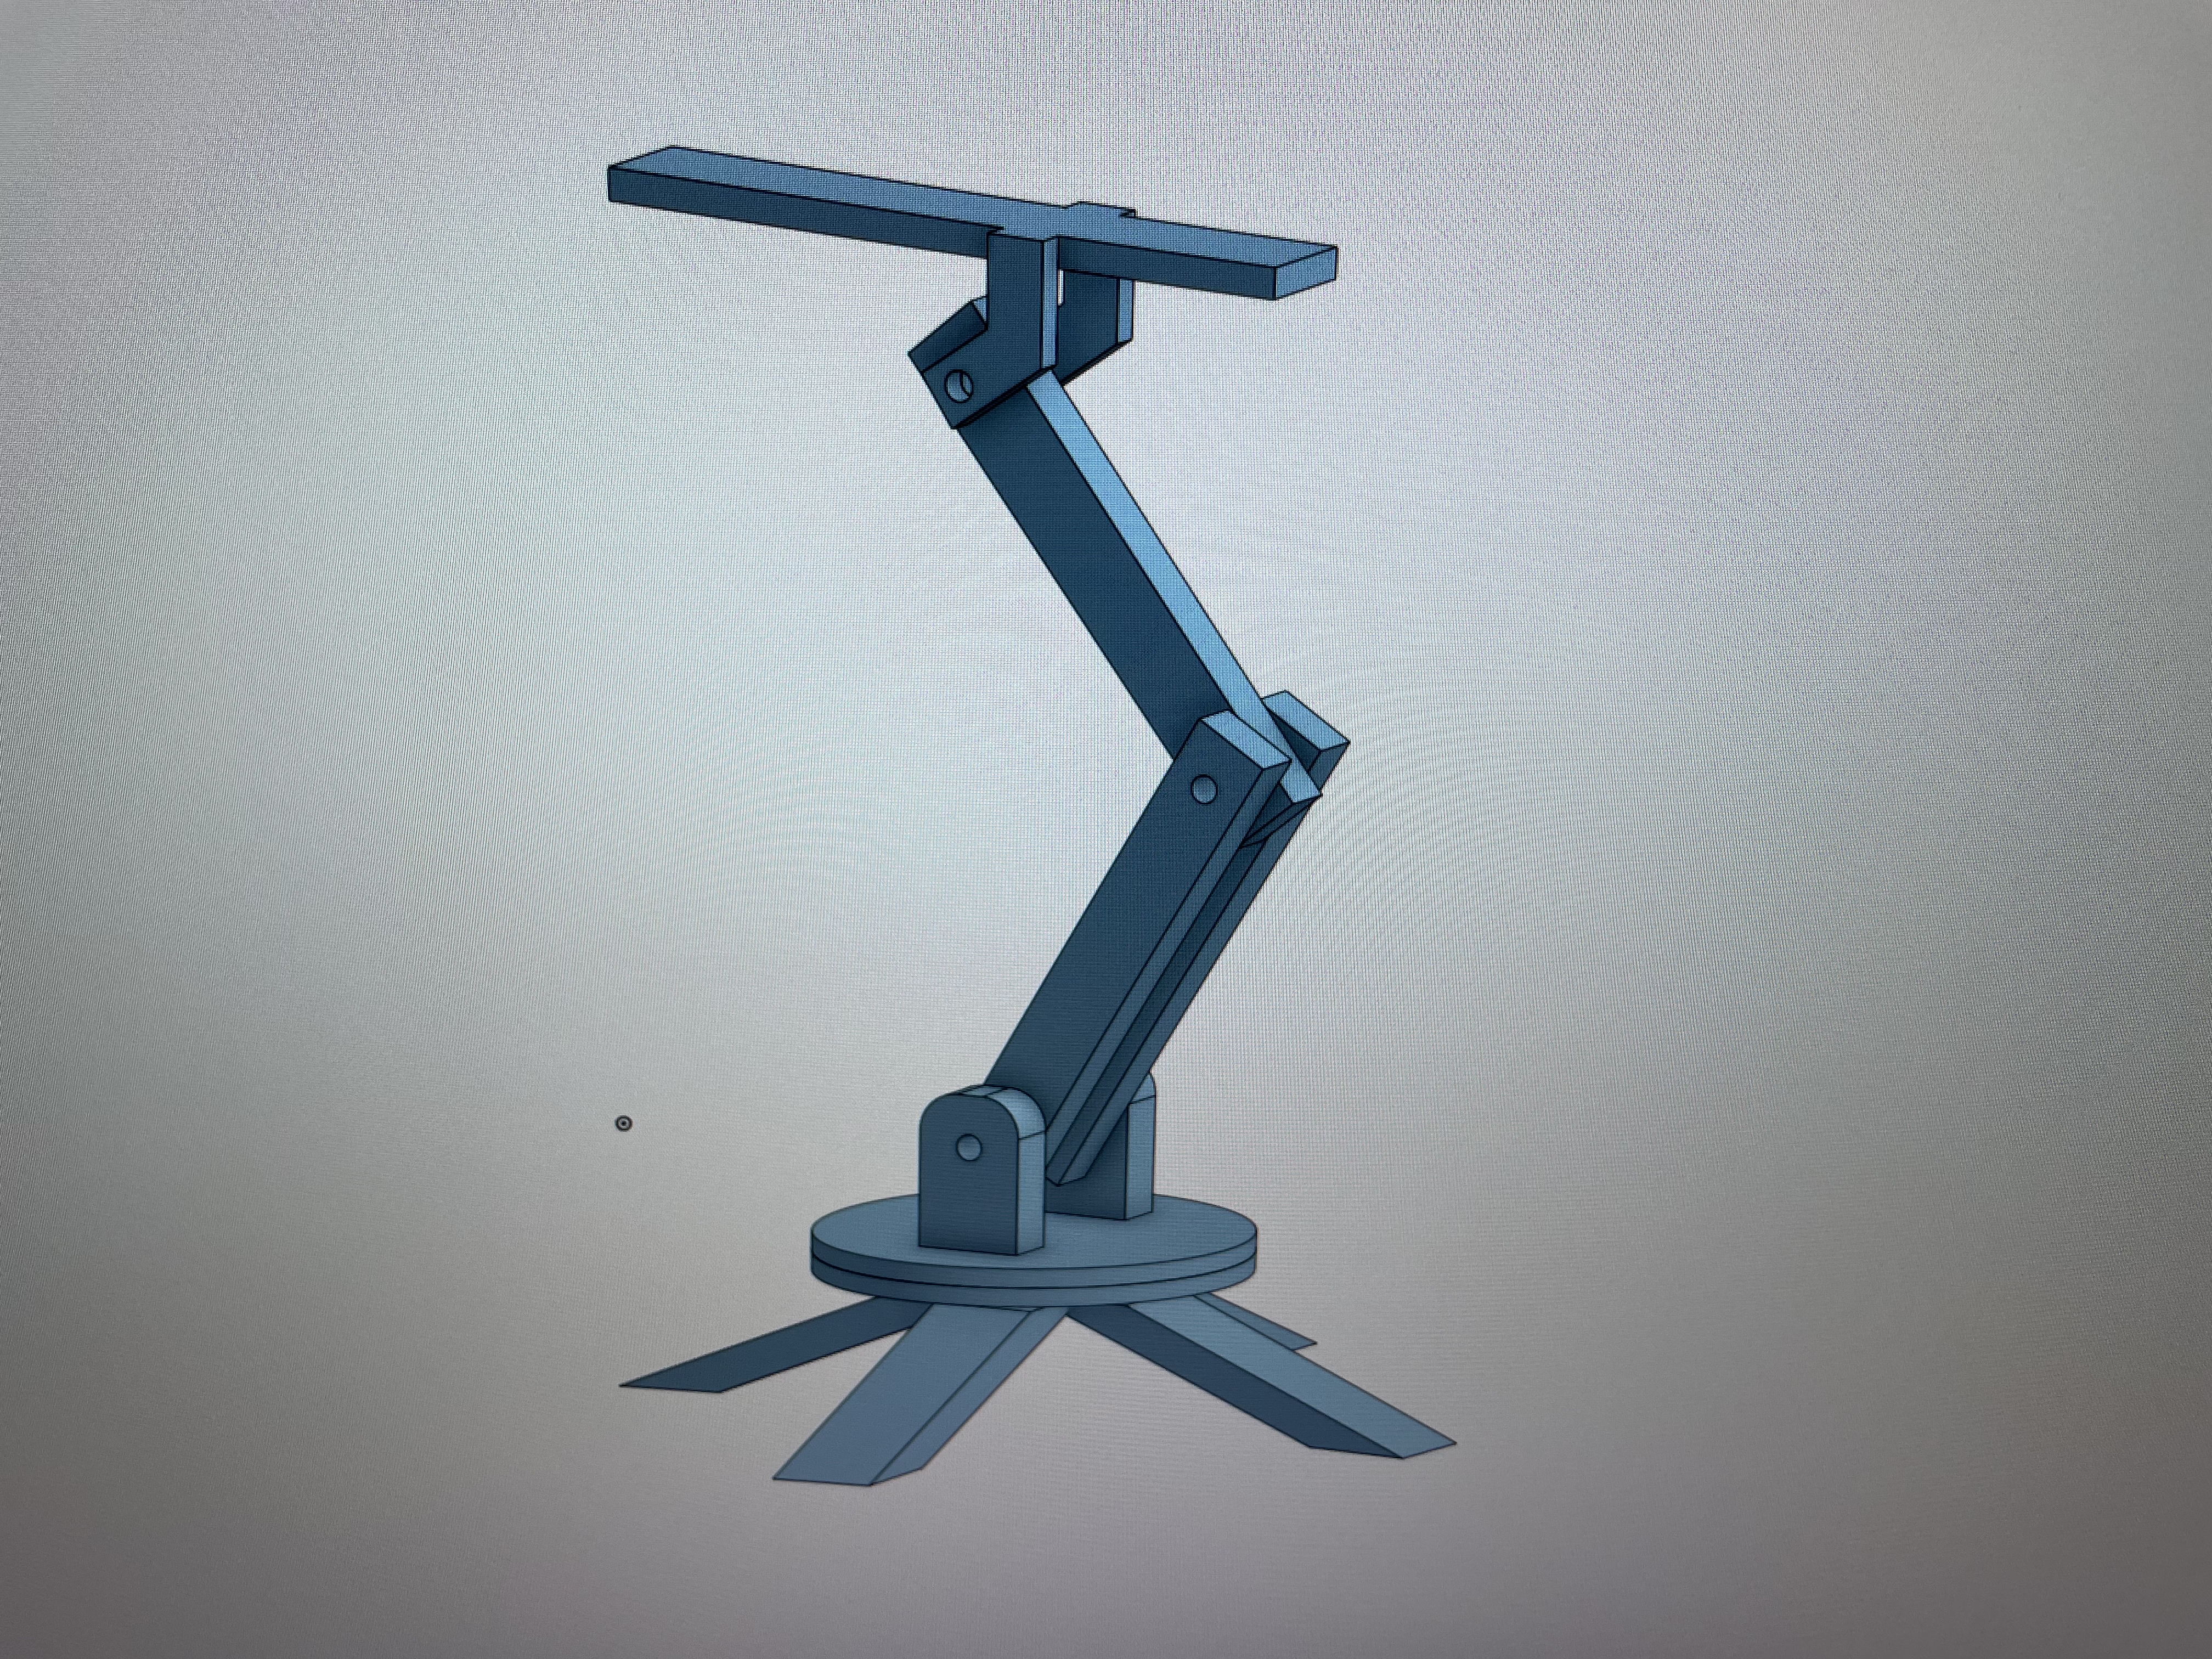
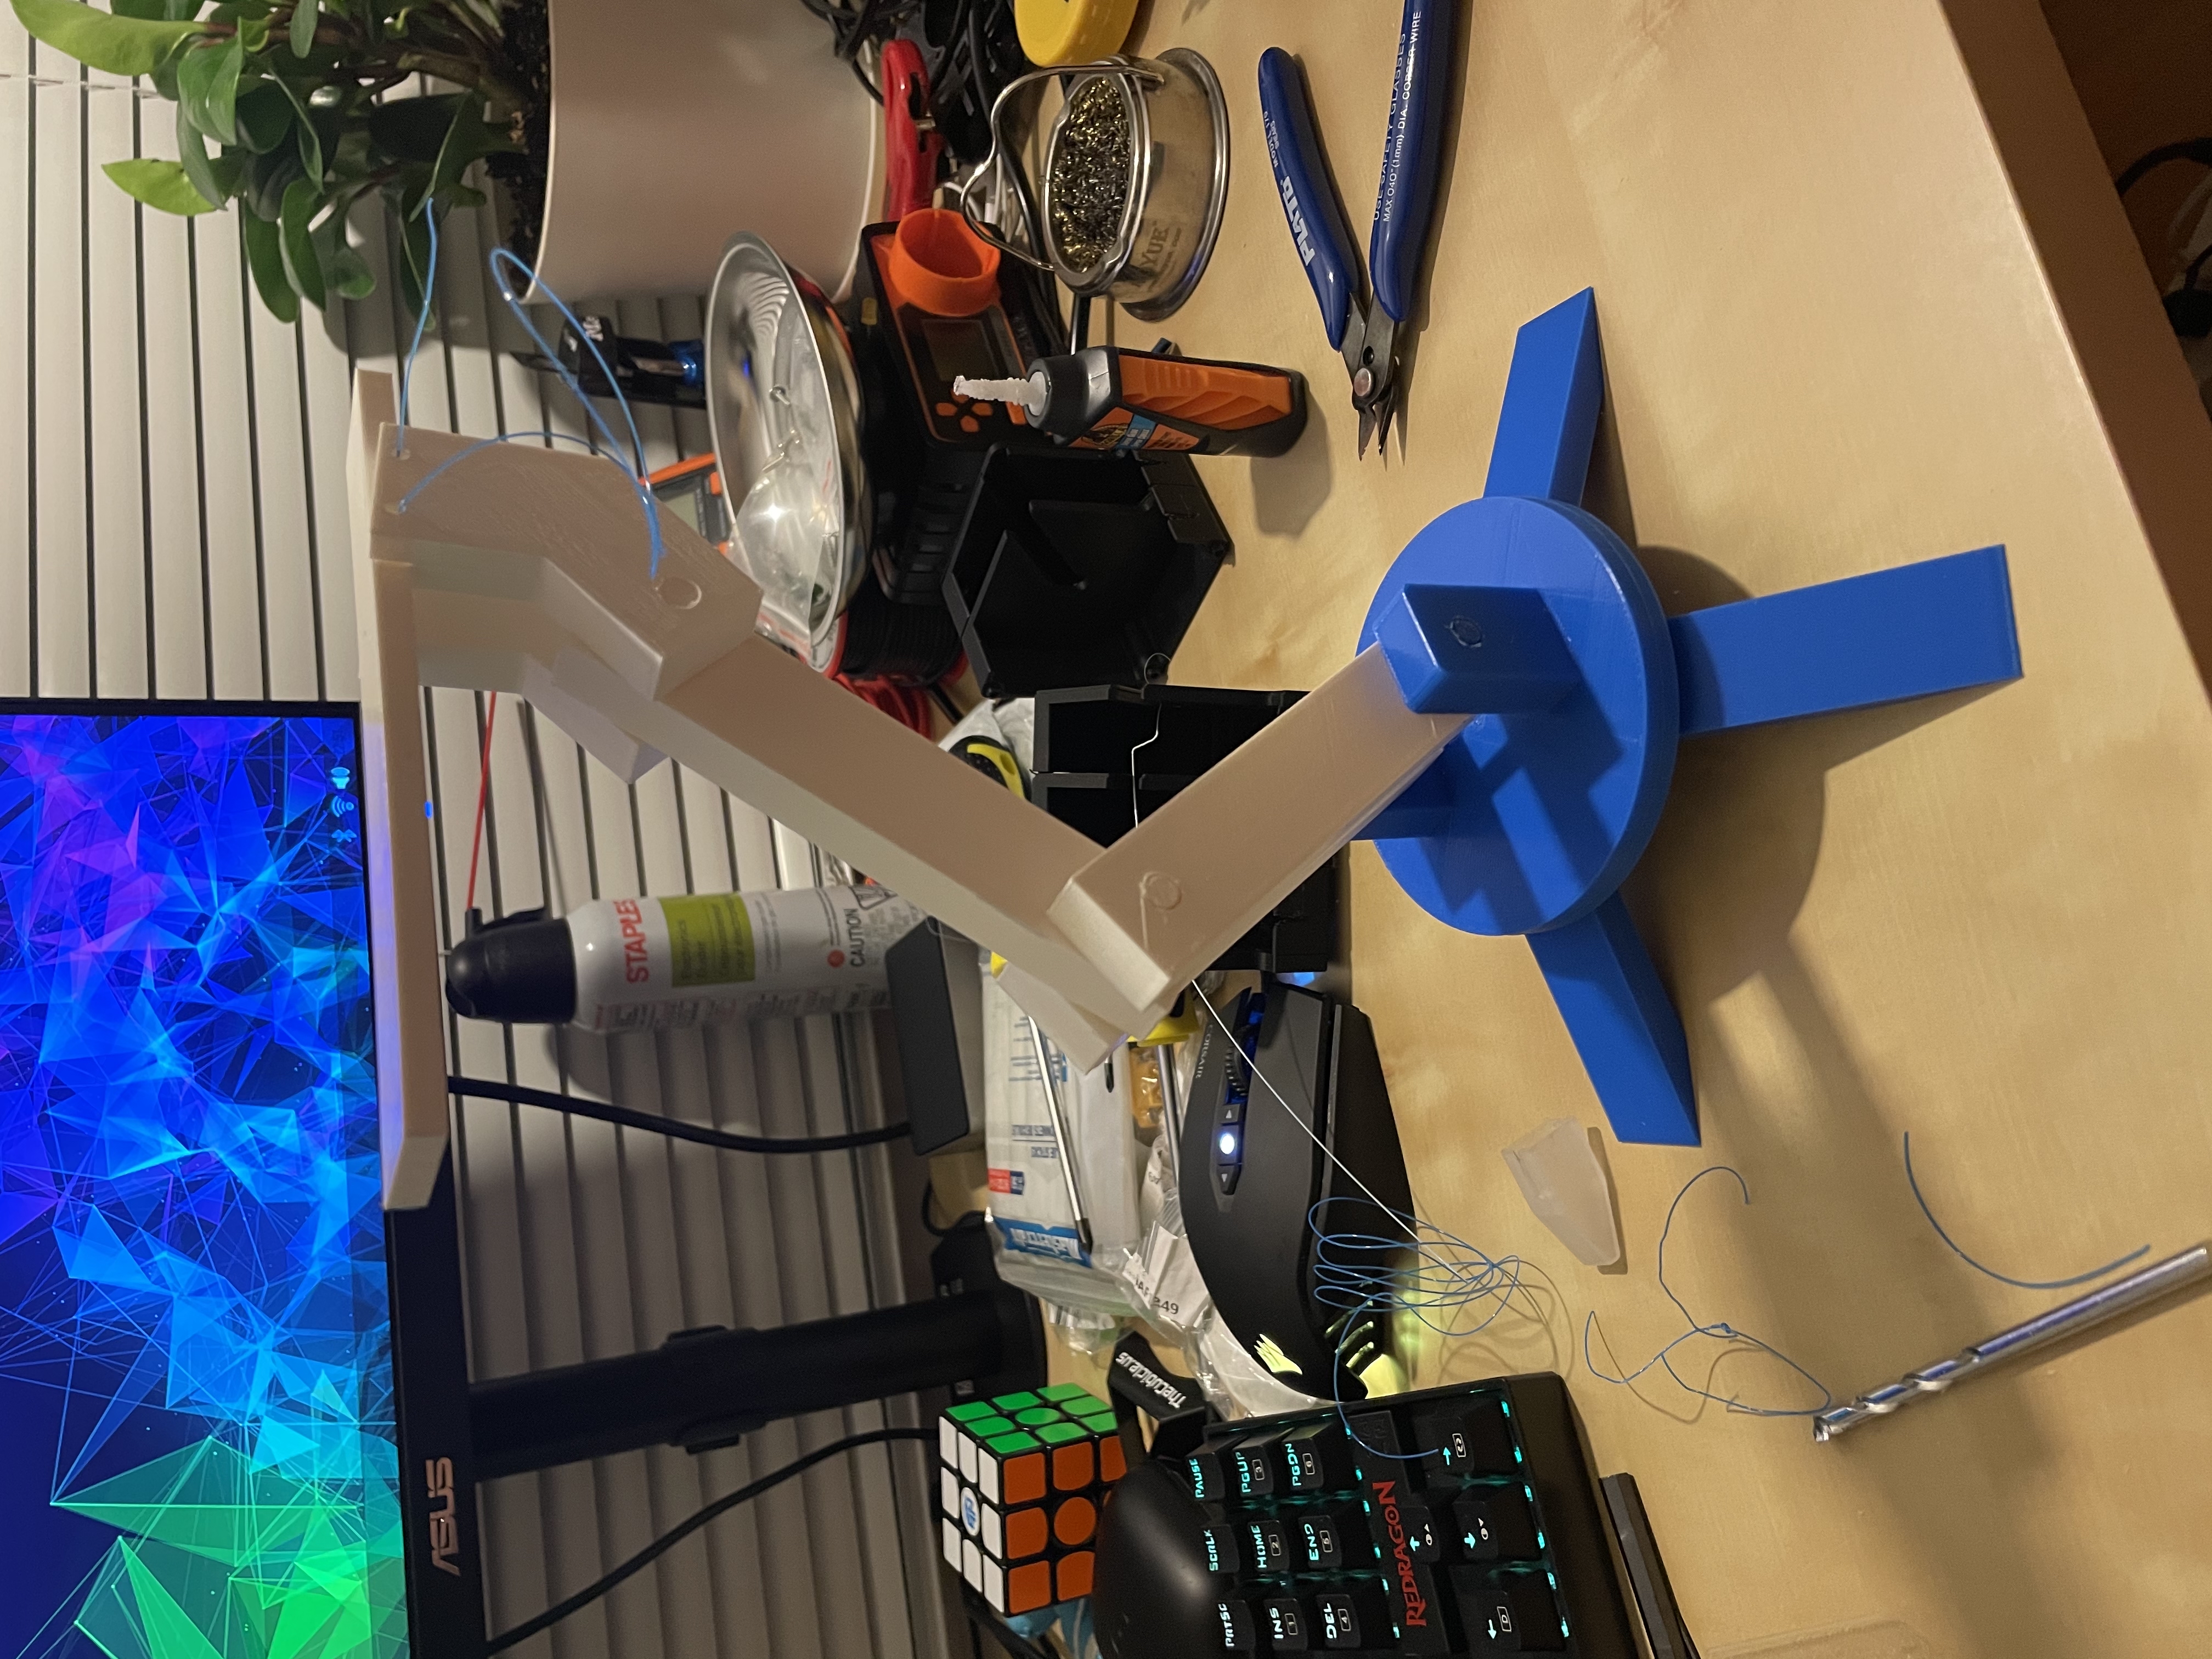
Here are some of the early concepts for the turret design. Below that are the final design I selected and a 3D printed model to a get an idea for the scale.
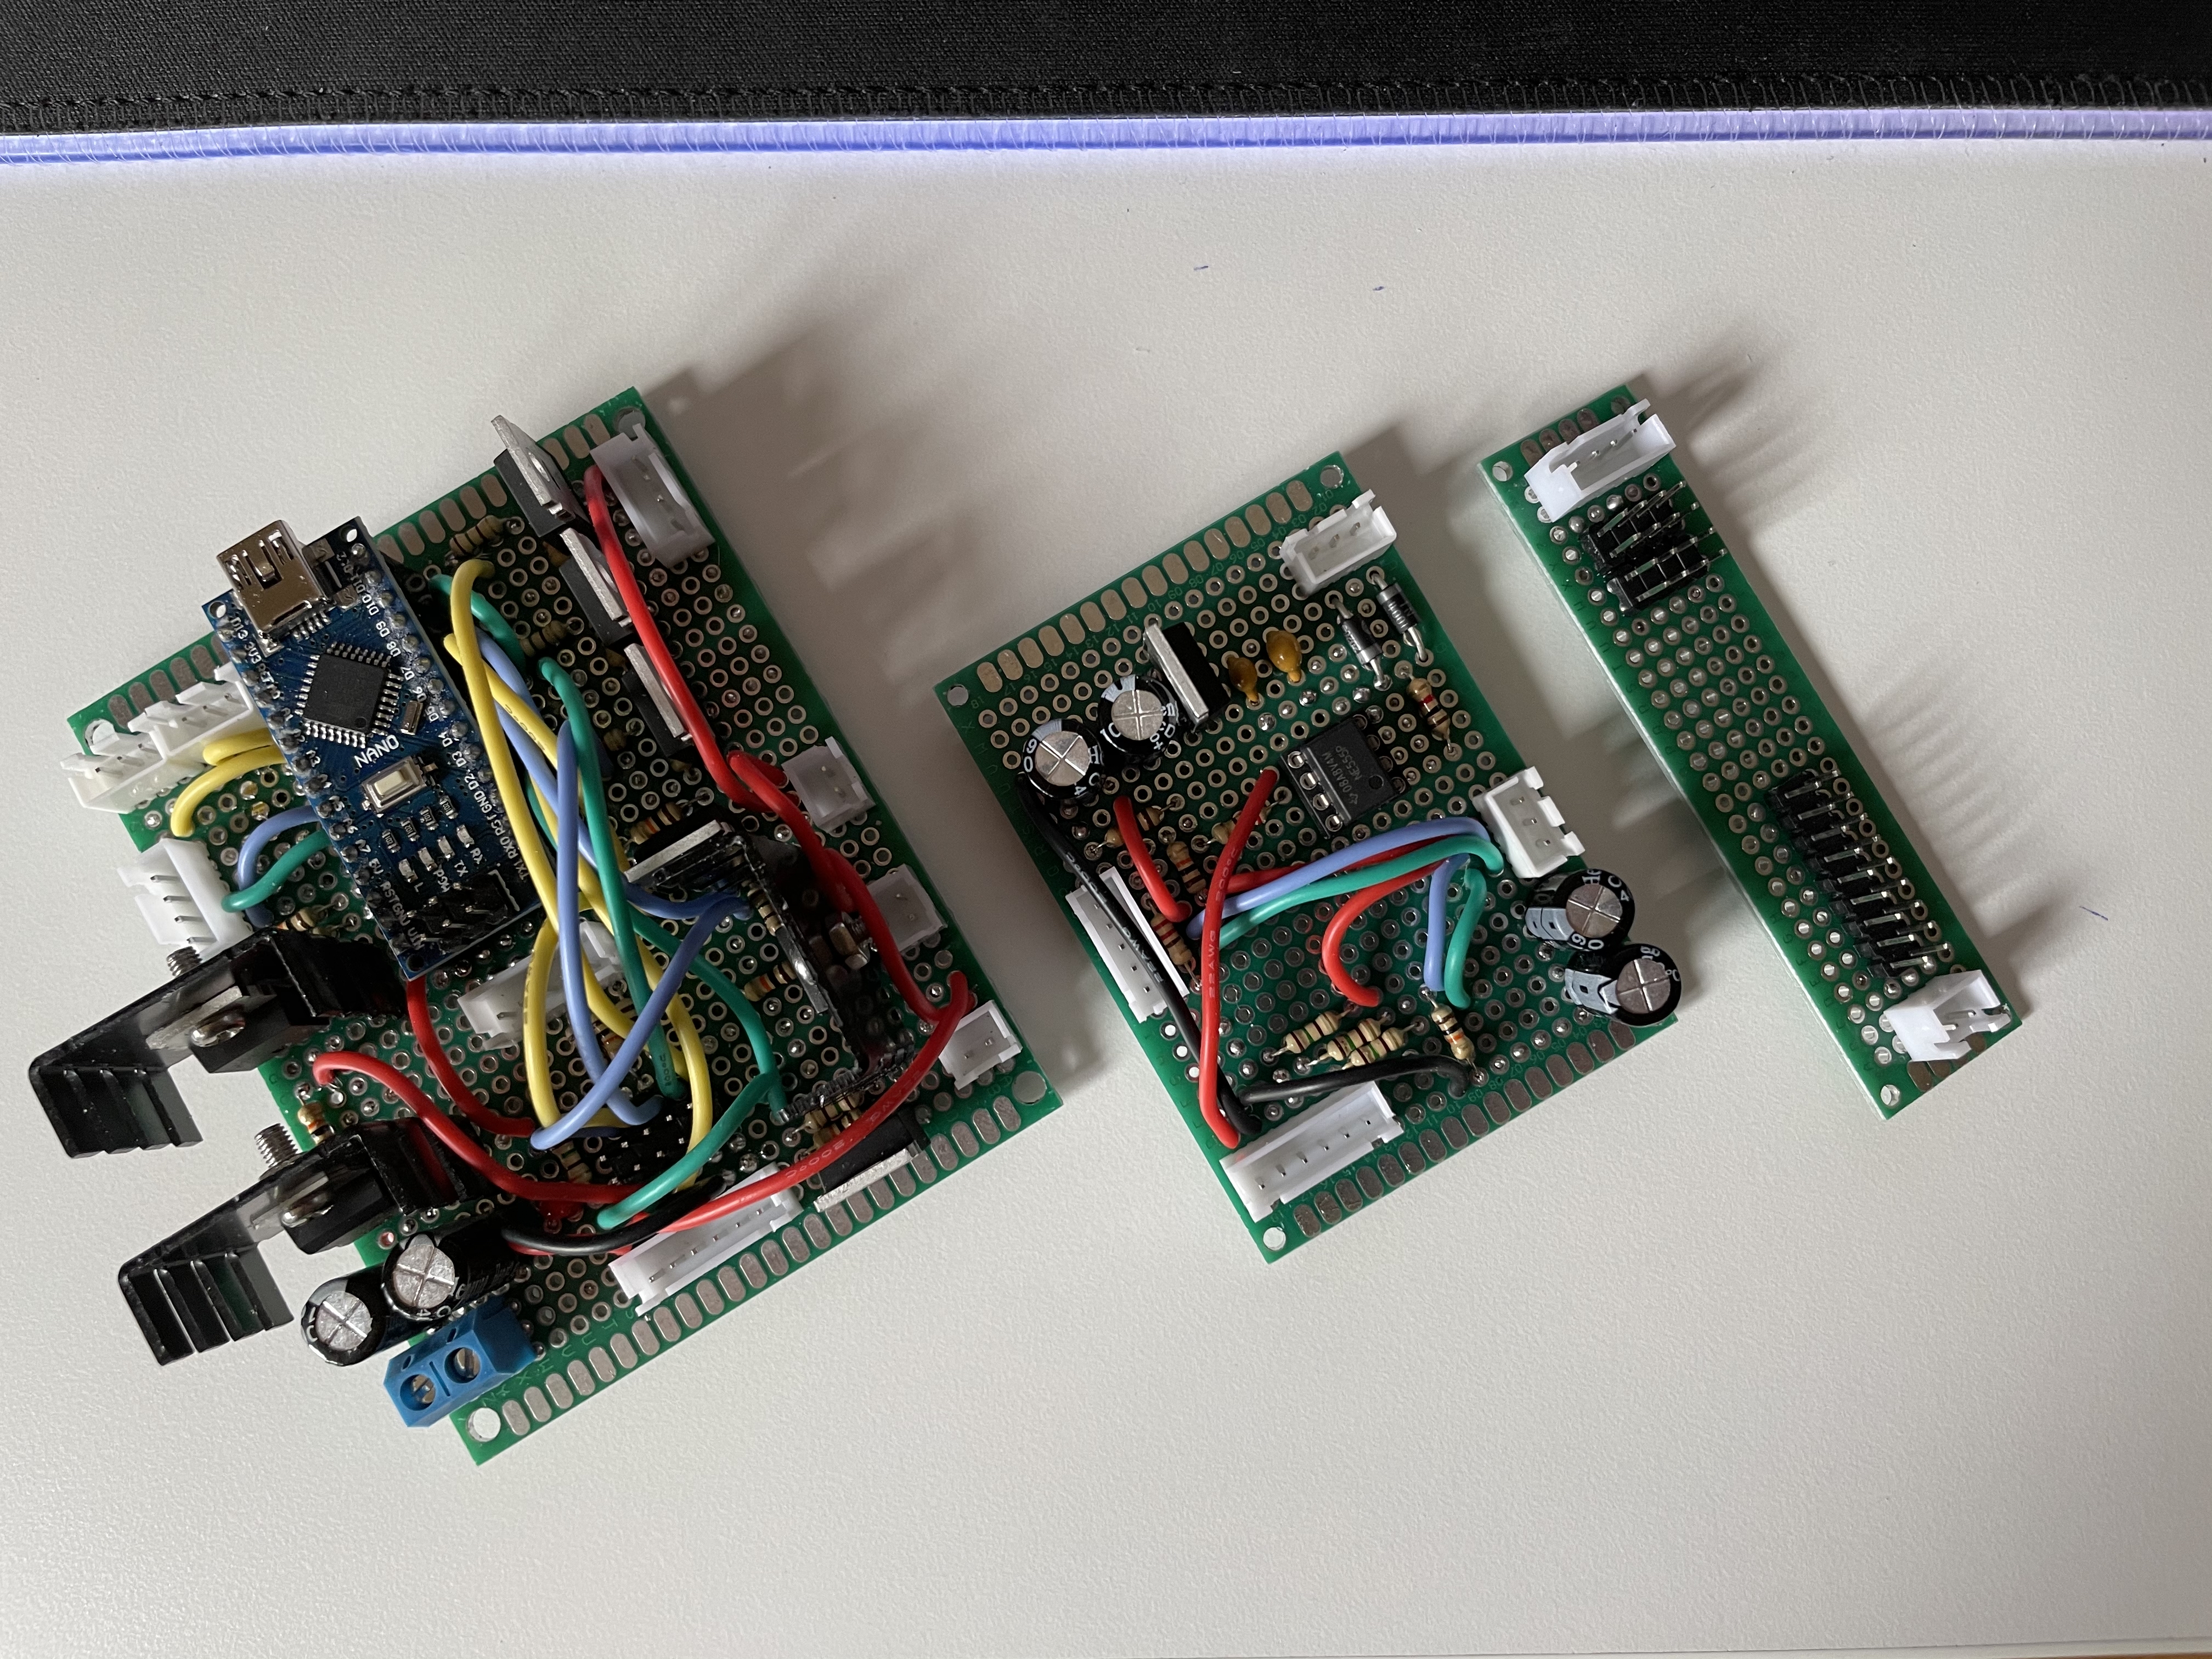
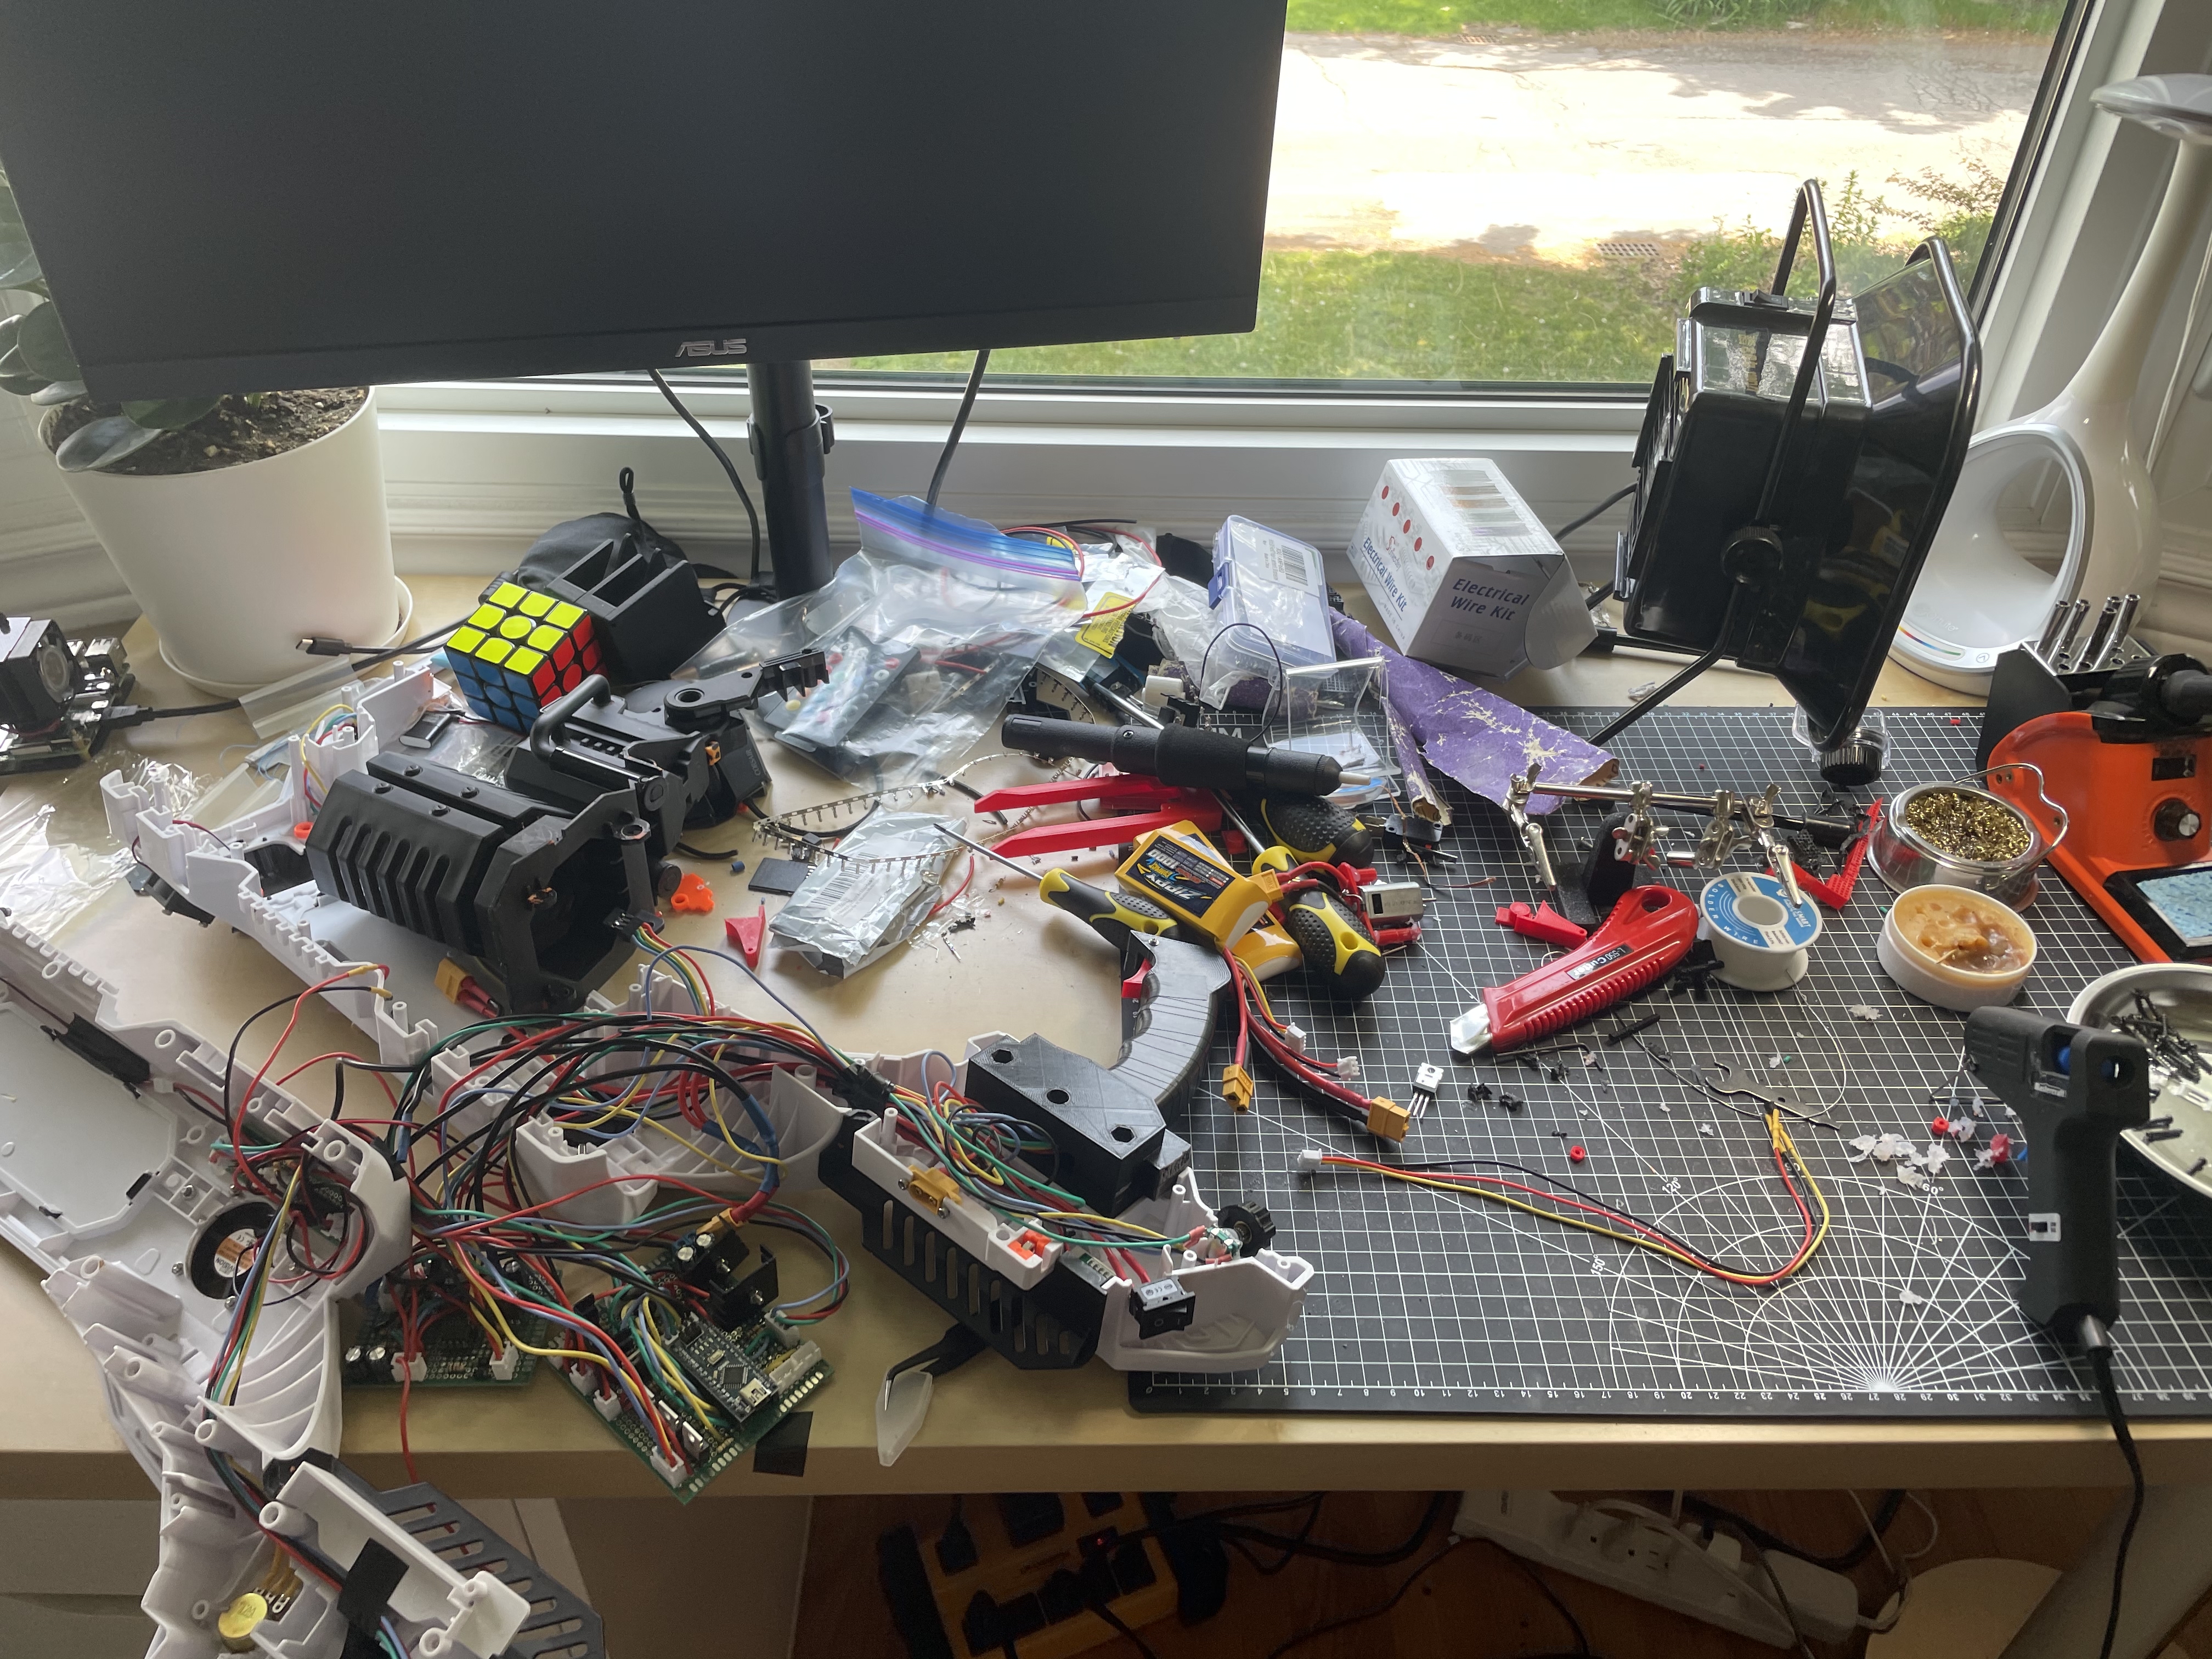
Here are some of the circuits I designed and soldered to some protoboards. Below that are some assemblies of the Nerf gun and all of the internals.

Here's a video of J.A.R.E.D.S properly starting up for the very first time. Initially I actually wanted to include a buzzer as a startup sound. Thank goodness I came to my senses on that one.
Here are the circuit housing and camera mount designs that I created and 3D printed. The circuit housing block was made to store all of the circuit boards and battery neatly, as well as to manage all of the wires. I later added an acrylic panel to protect the circuits from impact/scratches.
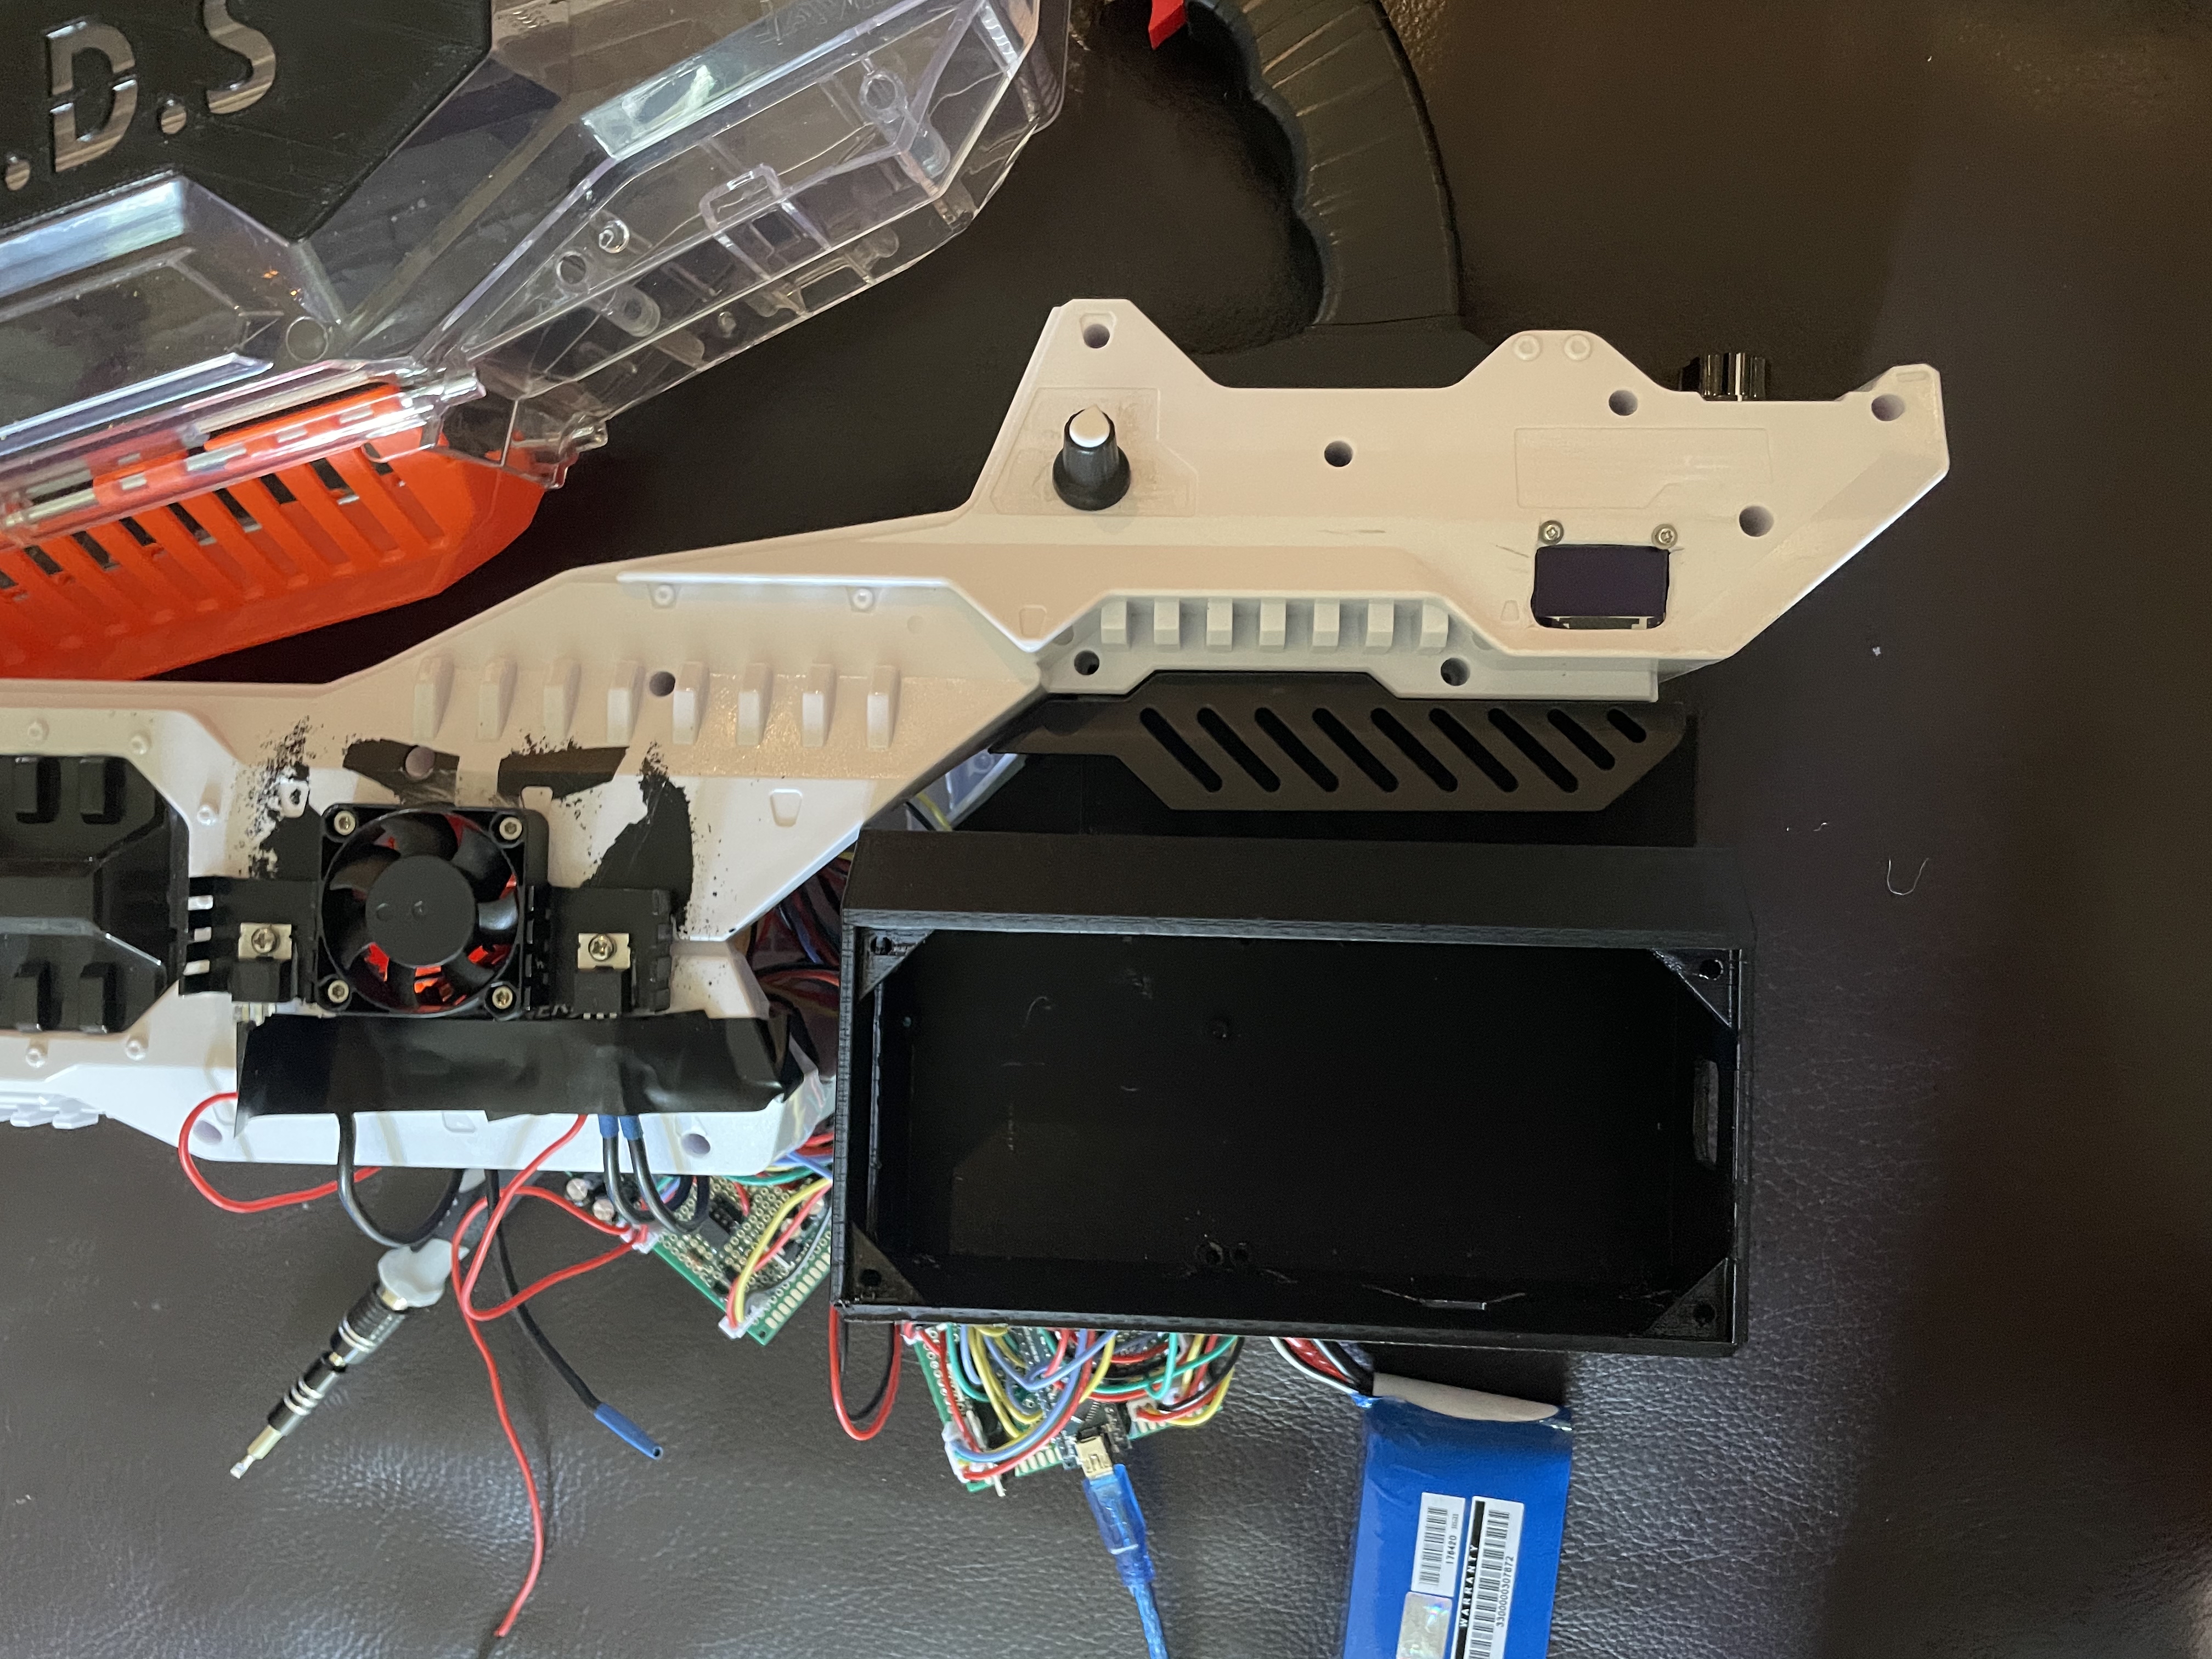

This is how I was able to program the Arduino directly from my computer without having to remove the acrylic panel and Arduino Nano everytime I wanted to make a change. There is a small cutout for the USB cable directly behind the Arduino Nano for easy access to the USB port.